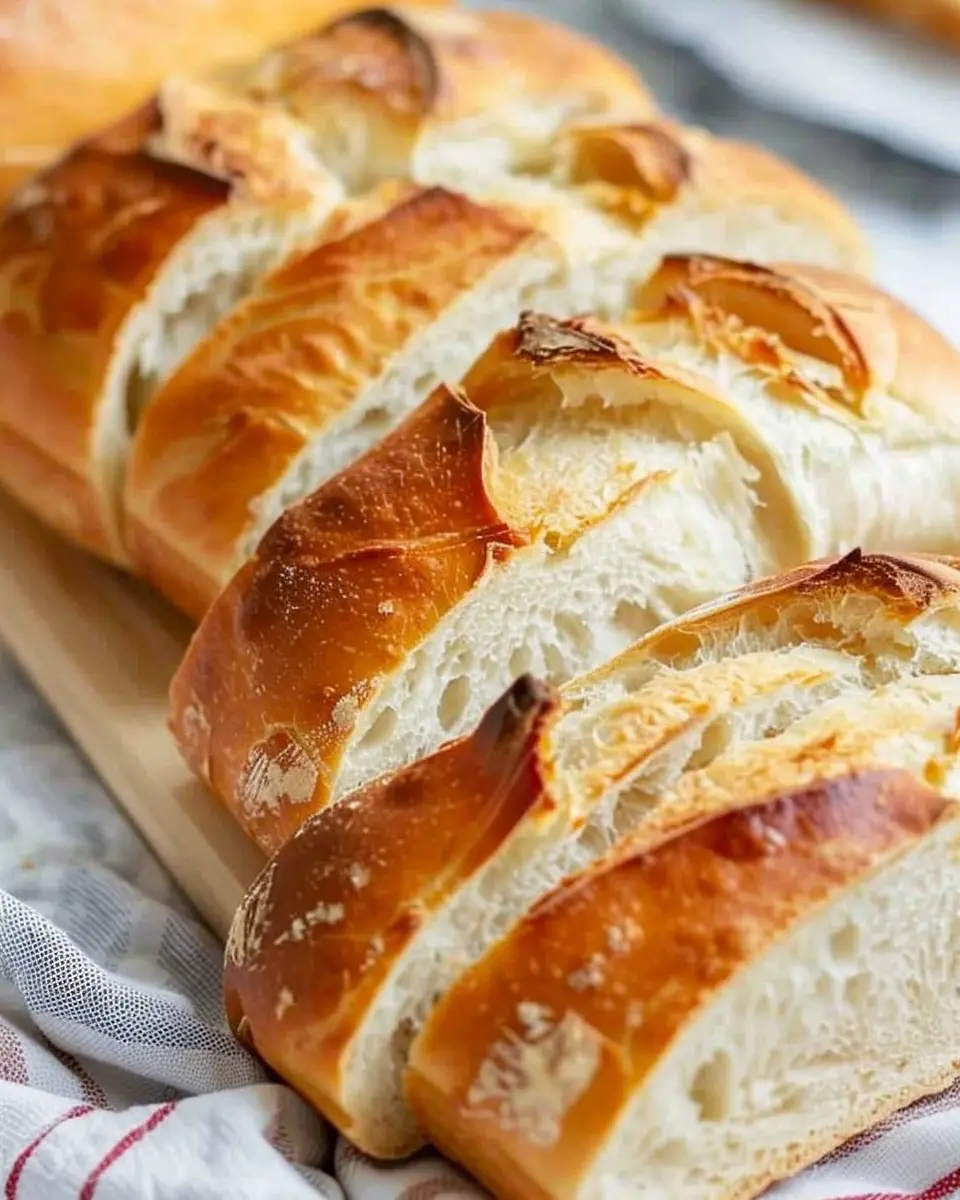
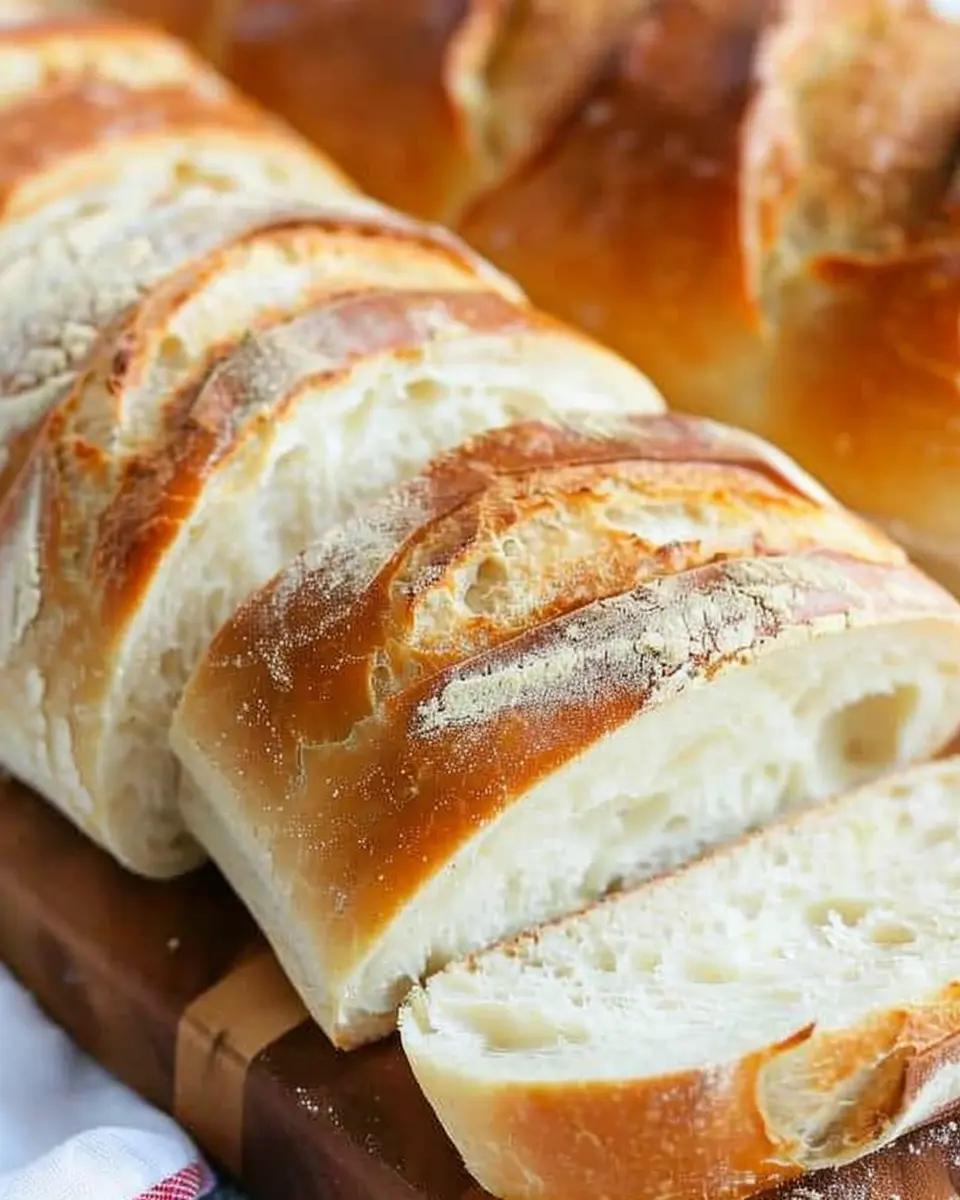
Introduction to Homemade French Bread
When you think of weeknight meals or weekend brunches, homemade French bread can become an essential part of your culinary repertoire. For young professionals juggling busy schedules and demanding tasks, the convenience of picking up a loaf from the store is tempting. However, once you discover the delightful difference of turning flour, water, and yeast into a warm, crusty baguette, you may never look back.
Why Homemade French Bread is a Game Changer for Young Professionals
Imagine this: you’re wrapping up a long day at work. The thought of cooking dinner feels overwhelming. But what if I told you that with just a few simple ingredients and a little hands-on time, you can whip up a batch of homemade French bread that will transform your meals?
Making your own bread allows you to control quality and flavor, and there’s a certain joy in crafting something delicious from scratch. Moreover, the aroma wafting through your kitchen as the bread bakes? Nothing short of heavenly. According to a report by the Bread Bakers Guild of America, the tactile experience of kneading dough can also relieve stress—perfect for unwinding after a hectic workday.
But the perks don’t stop there. Think of the financial savings! Store-bought artisan bread can set you back a pretty penny. With a small investment in flour, yeast, and a bit of time, homemade French bread becomes not just an indulgence but also a smart choice. And if you’re keen on sourcing local ingredients, baking at home can be a great way to align with your values.
Incorporating homemade French bread into your meals is versatile too. Pairs beautifully with soups, makes fantastic sandwiches, or simply toasted with a dab of butter for breakfast. There are countless ways to enjoy it, allowing you to unleash your inner chef and impress friends or family.
In our full recipe, I’ll guide you through the process step-by-step. After all, nothing says “weekend vibes” quite like waking up to fresh bread. Let’s dive into this rewarding adventure of creating your very own homemade French bread and elevate your meal game!
Ingredients for Homemade French Bread
Essential ingredients for a perfect loaf
Making homemade French bread is both simple and rewarding! To get that golden crust and soft interior, you’ll need just a handful of essential ingredients. Here’s what to gather:
- Flour: Go for high-protein bread flour to give your loaf structure and chew.
- Water: Warm water activates the yeast, so ensure it’s comfortable to the touch, about 110°F.
- Yeast: Use instant yeast for convenience; it makes the rising process quicker.
- Salt: Don’t skip this! Salt enhances flavor and strengthens the gluten.
- Sugar: A teaspoon or so helps feed the yeast and adds a hint of sweetness.
- Olive Oil: A splash of olive oil keeps the bread moist and adds flavor.
These ingredients work in harmony to create that delightful crunch and airy interior we love in homemade French bread. If you’re curious about the science behind baking bread, check out The Bread Lab for more insights!
Remember, the quality of your ingredients matters, so opt for the best you can find. What’s your go-to ingredient for baking?
Preparing Homemade French Bread
Making homemade French bread is not just about following a recipe; it’s a delightful journey that fills your kitchen with the intoxicating aroma of baking bread. Let’s walk through the steps together, ensuring you feel confident and excited to create your own loaves that will impress your family and friends.
Activating the Yeast
First things first: let’s get that yeast working! If you’re using active dry yeast, you’ll need to wake it up. Here’s how:
- Warm Water: In a small bowl or measuring cup, combine about 1 cup of warm water (between 100°F and 110°F is perfect).
- Sugar: Add a teaspoon of sugar into the water. Yeast loves sugar, and it helps it become active.
- Sprinkle the Yeast: Pour in 2 ¼ teaspoons of active dry yeast and let it sit for 5 to 10 minutes until it becomes frothy. This is a sign it’s ready to go!
If you’re interested in the science behind yeast activation and its importance in baking, check out King Arthur Baking.
Mixing the Dough
Once your yeast is ready, it’s time to bring the dough together. Using a large mixing bowl is ideal:
- Add 3 ½ cups of all-purpose flour, 1 tablespoon of salt, and your frothy yeast mixture.
- Gently mix with a spatula or your hands until a shaggy dough forms. Don’t worry if it looks a bit messy—this is just the beginning!
Mixing the ingredients in this way ensures that every particle of flour interacts with the yeast. You’ll want a nice balance of moisture, so feel free to adjust water or flour as needed.
Kneading and Resting the Dough
Kneading is where the magic happens. It’s the process that develops gluten and gives your bread that chewy texture!
-
Knead: Transfer the dough to a lightly floured surface. Knead it for about 8-10 minutes until it’s smooth and elastic. You should be able to stretch it without it tearing. A fun technique is the “windowpane test”; stretch a small piece of dough to see if you can hold it up without it breaking.
-
Rest: After kneading, place your dough in a lightly greased bowl, cover it with a damp cloth or plastic wrap, and let it rise in a warm spot for about 1 hour or until it has doubled in size.
Resting allows the flavors to develop fully and helps create those lovely air bubbles in your homemade French bread.
Shaping the Loaves
Once your dough has risen, it’s time to shape it into loaves:
-
Punch Down: First, gently punch down the dough to release air.
-
Divide: Shape it into two equal pieces. You can make one large baguette or two smaller ones based on your preference.
-
Form: For each loaf, flatten the dough into a rectangle. Roll it tightly from one end to the other, pinching seams to hold the shape. Place them seam-side down on a baking sheet lined with parchment paper.
Shaping might take a bit of practice, but don’t stress! Each loaf is uniquely yours.
Final Rise and Baking
You’re almost there! The final rise and baking will solidify the deliciousness into your bread:
-
Second Rise: Cover the loaves loosely with plastic wrap and let them rise for another 30-40 minutes until they puff up.
-
Preheat the Oven: Start preheating your oven to 450°F about 20 minutes before baking.
-
Steam: For that crispy crust, place a pan on the bottom rack of your oven while it preheats. Just before baking, pour hot water into the pan to create steam.
-
Bake: Brush the tops of your loaves with water and make a few slashes with a sharp knife for beautiful scoring. Place your loaves in the oven (and your kitchen will thank you!) and bake for about 25-30 minutes or until they turn golden brown.
Consider using a digital thermometer to ensure internal temperature reaches around 190°F for perfect doneness.
And there you have it! With these steps, you can bake your own delicious homemade French bread. It’s a fun and rewarding experience that fills your home with warmth and delicious fragrance. Enjoy every bite!
Variations on Homemade French Bread
When it comes to homemade French bread, the possibilities are endless. Here are a couple of variations that can take your baking game to the next level.
Whole Wheat French Bread
If you’re looking for a healthier twist on traditional homemade French bread, try using whole wheat flour. This not only adds a nutty flavor but also boosts the nutritional profile. Substituting half or even all of the white flour with whole wheat can yield a denser bread, incredibly satisfying to the bite.
- Adjust Water Ratio: Whole wheat flour absorbs more water, so you may need to increase the liquid ingredients slightly. Start with a 10% increase and adjust based on your dough’s feel.
- Add Sweetener: Consider adding a tablespoon of honey or maple syrup to enhance the flavor profile. The slight sweetness complements the earthiness of the whole grain beautifully.
For a deeper dive into whole grain benefits, you can explore resources from the Whole Grains Council.
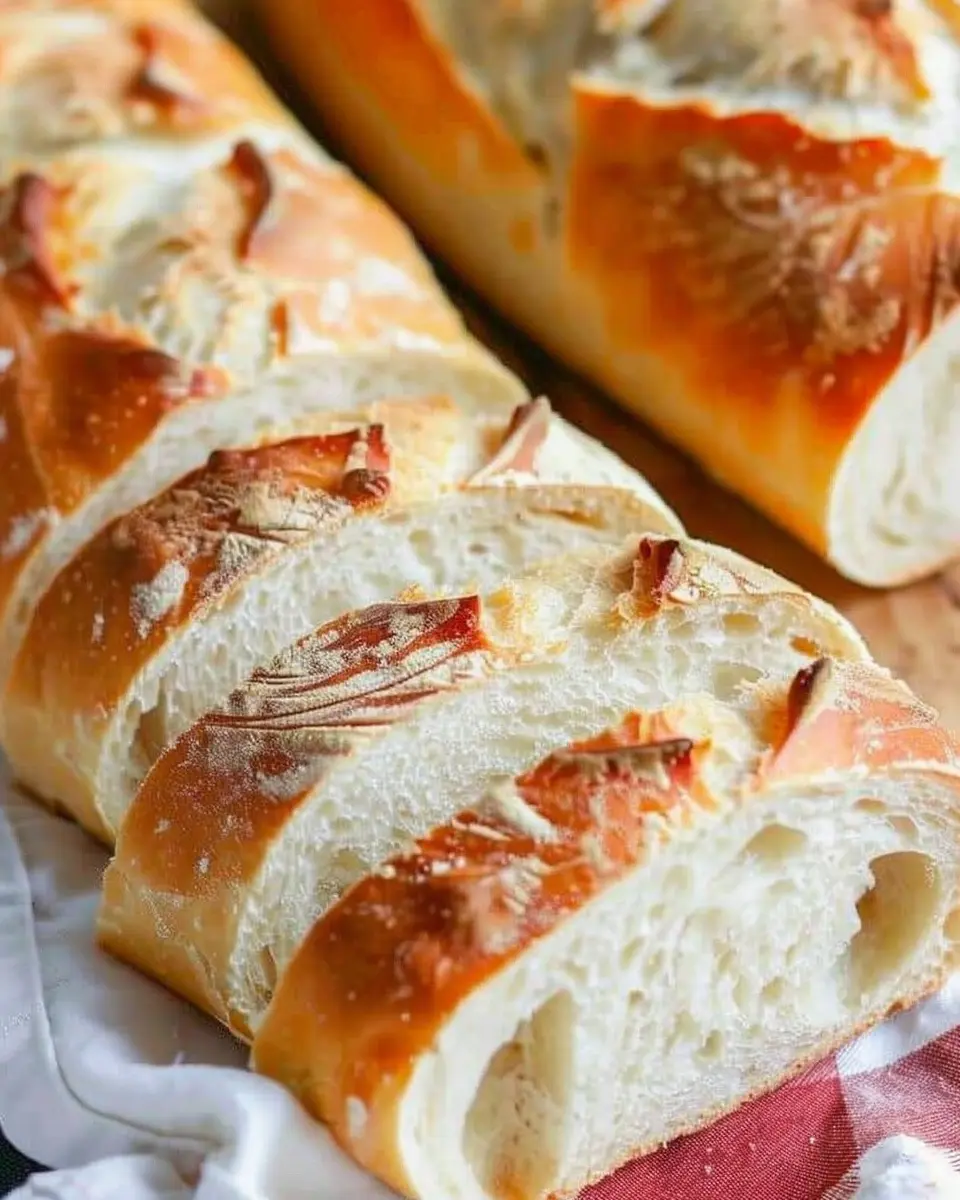
Herb-Infused French Bread
For a fragrant and tasty variation, why not bake a loaf of herb-infused homemade French bread? Adding fresh or dried herbs can elevate your bread from classic to gourmet.
- Choose Your Herbs: Basil, rosemary, or thyme are fantastic choices. Start with about one tablespoon of dried herbs or two tablespoons of fresh chopped herbs mixed into your dough.
- Garlic Option: For an extra flavor kick, mince a clove or two of garlic and include it during mixing. The aroma wafting from the oven will have everyone gathering around!
These unique variations can not only impress at your next dinner party but also provide delightful options for your everyday meals. Interested in more flavor inspirations? Check out this article on creative bread variations.
Baking homemade French bread doesn’t have to be mundane; these variations can turn an ordinary loaf into something special!
Baking notes for Homemade French Bread
Tips for achieving the perfect crust and crumb
Baking the ideal homemade French bread might seem daunting, but with a few insider tips, you can achieve a beautiful loaf every time!
-
Use a Baking Stone or Steel: If you have a baking stone or steel, preheat it in your oven. This simulates a professional baker’s steam-injected oven, providing a crispy crust. You can also place a pan of hot water in the oven to create steam, which helps the bread rise and develop that beautiful crust.
-
Proper Kneading: Make sure you knead your dough well. A good knead develops gluten, which gives your bread structure. Aim for a smooth, elastic texture.
-
Temperature Matters: Let your dough rise in a warm, draft-free area. Ideal temperatures for fermentation are between 75°F and 85°F. Check out resources from King Arthur Baking for expert tips on temperature control.
-
Scoring: Don’t forget to score your bread before baking. This helps release steam and allows for an even rise.
By following these tips, you’ll have a loaf of homemade French bread that’s golden brown on the outside and soft and airy on the inside. Happy baking!
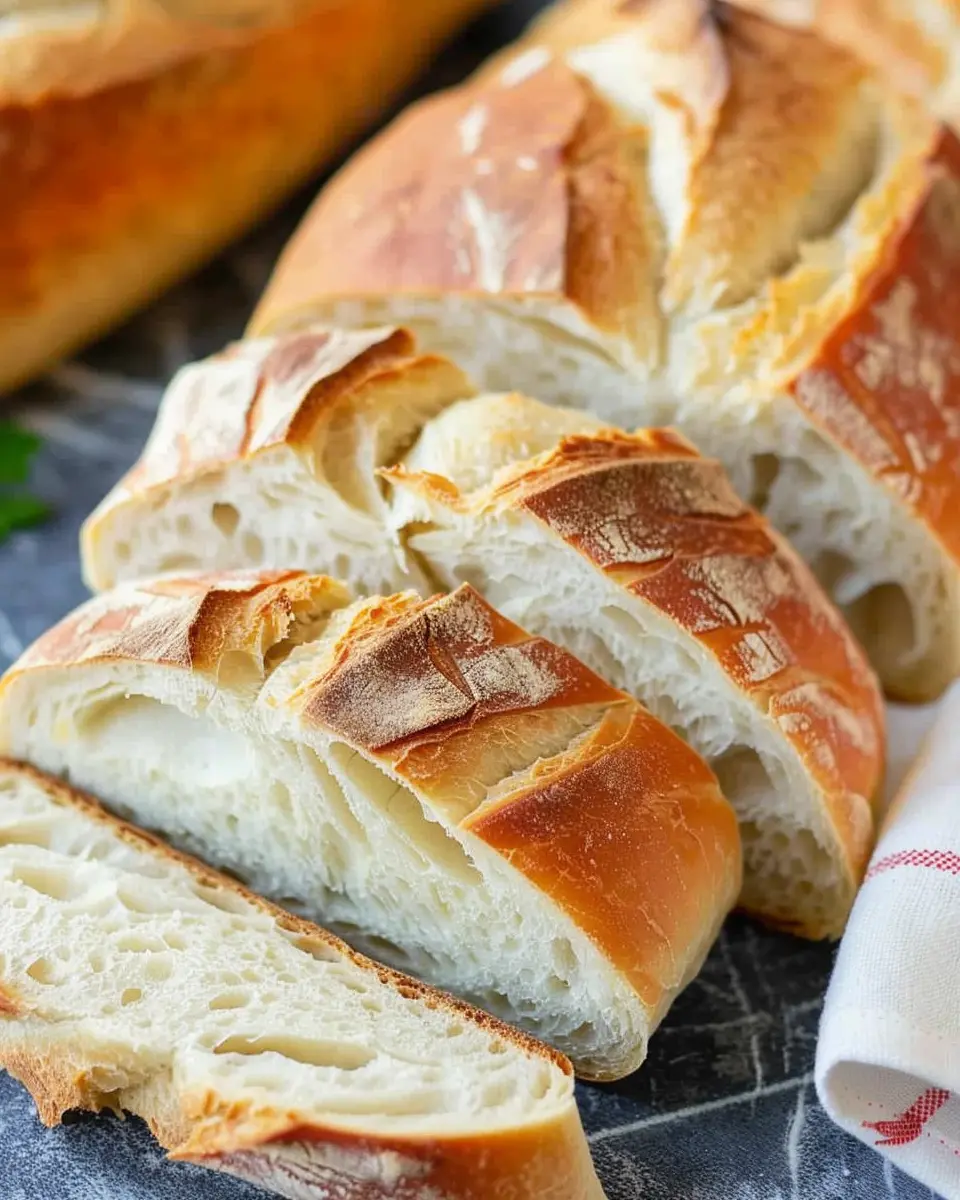
Serving Suggestions for Homemade French Bread
When you’ve just pulled your homemade French bread from the oven, its enticing aroma is hard to resist. Here are some delightful pairing ideas to help you enjoy this warm, crusty loaf to the fullest.
Pairing Ideas for Enjoying Your Warm Bread
- Classic Garlic Bread: Slice your French bread, slather on some garlic butter, and toast until golden. Perfect as a starter or alongside pasta dishes.
- Savory Sandwiches: Think outside the box! Use your delicious bread to create sandwiches filled with turkey bacon, chicken ham, or a medley of fresh vegetables.
- Hearty Soups: Dipping a hunk of your warm bread into a rich vegetable or tomato soup can be pure bliss. The flavor of the bread elevates the experience!
- Morning Toast: Spread some avocado or homemade jam on your toasted slices for a quick, satisfying breakfast. A sprinkle of sea salt can really enhance the flavors.
Don’t forget to explore other options that match your tastes, like fresh salads or cheese platters! And for even more ideas, you might find time-sensitive recipes worth exploring on sites like Bon Appétit and Food Network. Enjoy your homemade French bread, and let your creativity shine!
Tips for Making Perfect Homemade French Bread
Baking homemade French bread can be a rewarding experience, but a few common pitfalls can trip you up. Here are some helpful tips to ensure you achieve that perfectly crusty loaf and airy interior every time.
Common Pitfalls and How to Avoid Them
Using the Wrong Flour
Choosing the right type of flour is crucial. Opt for bread flour over all-purpose flour when making homemade French bread; the higher protein content provides better gluten structure, resulting in a more chewy bread.
Not Measuring Accurately
Baking is a science, so measuring your ingredients accurately is key. Invest in a kitchen scale to weigh your flour and yeast. A little too much of either can throw off your whole loaf!
Skipping the Kneading Process
Kneading is essential for developing gluten. Spend at least 10 minutes working your dough; think of it as a mini workout! This step is vital for the texture of your bread.
Failing to Create Steam
To achieve that characteristic crispy crust, you need steam in your oven. Place a pan of hot water on the bottom of your oven while baking, or mist the oven with water just after placing your loaf inside.
By following these tips and avoiding common mistakes, you’ll be well on your way to baking homemade French bread that will impress your friends and family. If you’re hungry for more insights, check out King Arthur Baking or Serious Eats for expert advice and recipes. Happy baking!
Time details for Homemade French Bread
Preparation time
Getting your ingredients measured and ready? That’ll take about 15 minutes. You’ll want to gather all your essentials: flour, yeast, and salt.
Rising time
The magic of homemade French bread lies in its rising! Allow your dough to rise for approximately 1 to 1.5 hours. This step is crucial for developing that beautiful texture.
Baking time
Once your dough is ready, it’s time to bake! Set aside about 25-30 minutes to let your bread achieve that perfect golden crust.
Total time
In total, you’re looking at about 2-2.5 hours from start to finish. But trust me, those delicious aromas wafting through your kitchen will be well worth the wait!
For more bread-making tips and techniques, check out resources like King Arthur Baking or Food Network.
Nutritional Information for Homemade French Bread
Making your own homemade French bread is not only a delightful experience, but it can also contribute positively to your diet! Let’s take a closer look at the nutritional aspects of this delicious staple.
Calories
A standard serving of homemade French bread, which is about one slice, typically contains around 80-100 calories. While this makes it a lower-calorie option compared to many store-bought breads, moderation is key.
Carbohydrates
Each slice packs about 15-20 grams of carbohydrates, providing that satisfying energy boost you may need throughout your day. If you’re interested in the impact of carbohydrates on your meals, this resource can be enlightening.
Fiber
While homemade French bread isn’t particularly high in fiber, it generally offers about 1 gram per slice. Consider pairing it with fiber-rich toppings like avocado or tomatoes to enhance your daily intake! For tips on incorporating more fiber into your meals, check out this guide from MyPlate.
Enjoying your homemade creation provides nutritional benefits while allowing you to explore creative toppings and pairings!
FAQs about Homemade French Bread
Can I use instant yeast instead of active dry yeast?
Absolutely! You can easily substitute instant yeast for active dry yeast in your homemade French bread. The beauty of instant yeast is that it doesn’t require proofing; just mix it directly into your dry ingredients. If you’re looking for quicker results, instant yeast can reduce your dough rising time. However, if you prefer to use active dry yeast, it’s a classic choice that gives delightful results as well. For detailed comparisons and tips on using different yeast types, check out this informative article.
How do I store leftover homemade French bread?
Storing your homemade French bread correctly can keep it fresh longer. Wrap it in plastic wrap or aluminum foil and place it in a paper bag at room temperature for up to three days. This method helps retain some moisture while protecting it from the air. To enjoy that fresh-baked flair later, try storing it in a resealable plastic bag, but remember that this can make the crust softer.
Can I freeze homemade French bread?
Yes, freezing your homemade French bread is a fantastic option! Allow the bread to cool completely, then wrap it tightly in plastic wrap, followed by aluminum foil. This double-wrap method prevents freezer burn and keeps your bread tasting fresh. When you’re ready to enjoy it again, just let it thaw at room temperature, or pop it straight into the oven at a low temperature for a crisp finish. For more freezing tips, visit this helpful guide.
Feel free to experiment and enjoy the process! Baking is as much about the journey as the destination. Happy baking!
Conclusion on Homemade French Bread
The satisfaction of enjoying your own creation
There’s something undeniably rewarding about baking homemade French bread. The aroma wafting through your kitchen fills the air with warmth, making your home feel extra inviting. As you tear into that crusty exterior to reveal the soft, fluffy interior, you can’t help but smile.
Not only do you get to enjoy a delicious loaf, but you also have the joy of knowing you crafted it from scratch. It’s a simple pleasure that transforms an ordinary meal into something extraordinary. So, next time you’re in the kitchen, why not take a little time to indulge in the art of baking your own French bread? Embrace the process, share it with friends, and relish the delicious results!
PrintHomemade French Bread: The Best Recipe for Delicious Loaves
Learn how to make delicious homemade French bread with this easy-to-follow recipe.
- Prep Time: 20 minutes
- Cook Time: 30 minutes
- Total Time: 2 hours 20 minutes
- Yield: 2 loaves 1x
- Category: Bread
- Method: Baking
- Cuisine: French
Ingredients
- 4 cups all-purpose flour
- 1 1/2 cups warm water
- 2 tablespoons sugar
- 2 teaspoons salt
- 2 1/4 teaspoons active dry yeast
Instructions
- In a bowl, combine warm water, sugar, and yeast. Let it sit until foamy.
- Add flour and salt to the mixture, then knead until smooth.
- Let the dough rise in a warm place until doubled in size.
- Punch down the dough, shape it into loaves, and let it rise again.
- Bake in a preheated oven until golden brown.
Notes
- For a crispier crust, add steam in the oven during baking.
- Allow the bread to cool on a rack before slicing.
Nutrition
- Serving Size: 1 slice
- Calories: 120
- Sugar: 1g
- Sodium: 200mg
- Fat: 1g
- Saturated Fat: 0g
- Unsaturated Fat: 0g
- Trans Fat: 0g
- Carbohydrates: 24g
- Fiber: 1g
- Protein: 4g
- Cholesterol: 0mg
Keywords: Homemade French Bread, French Bread Recipe, Easy Bread Recipe