Introduction to Starbucks Cake Pop Recipe
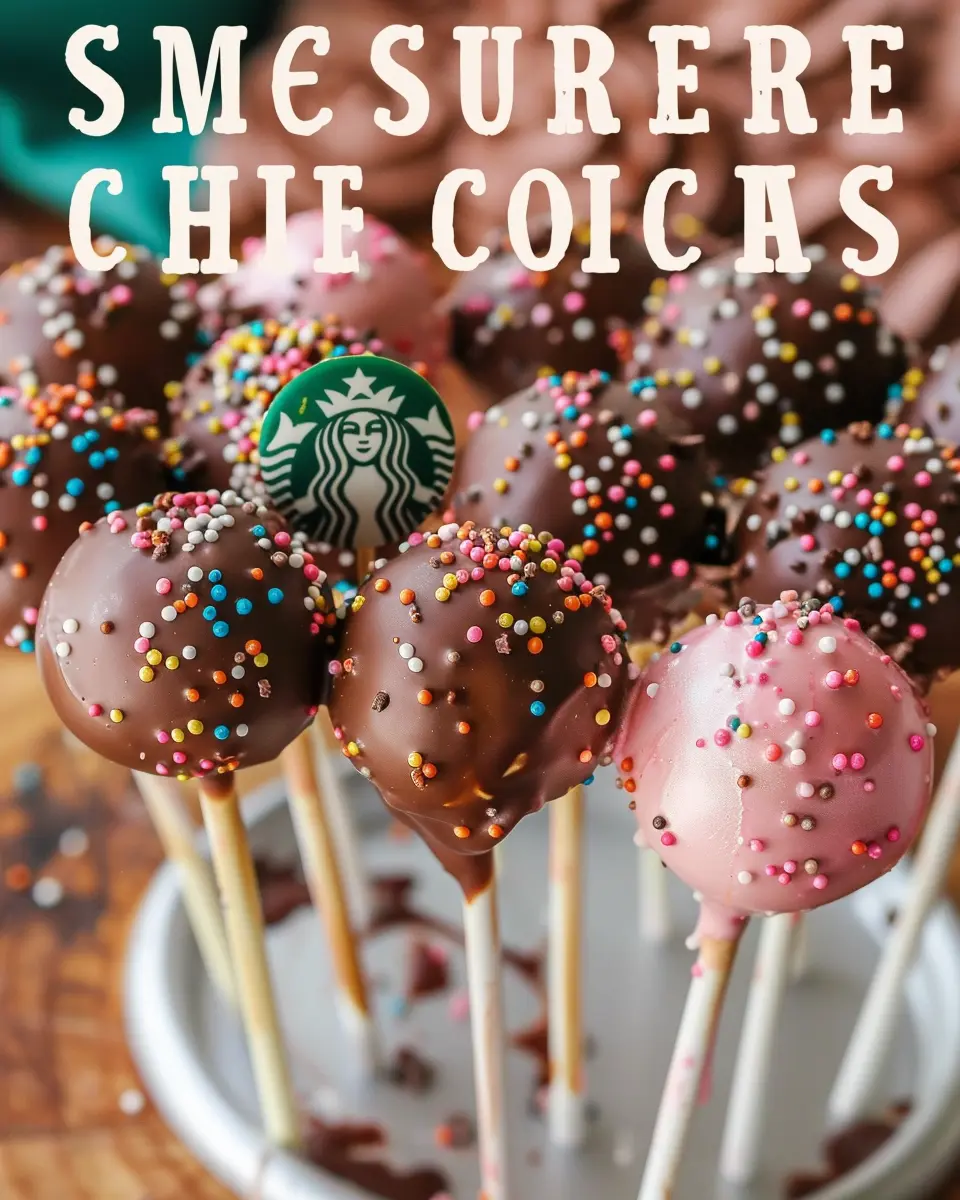
When it comes to satisfying that sweet tooth, few treats have the charm and allure of cake pops. These delightful little balls of cake, coated in chocolate and elegantly served on a stick, have become a staple at Starbucks and beyond. But why exactly are cake pops the perfect treat for any occasion? Let’s dive in!
Why Cake Pops Are the Perfect Treat
First off, cake pops are incredibly versatile. You can make them in a myriad of flavors, colors, and decorations, making them perfect for every celebration—whether it’s a birthday party, a wedding, or even just a cozy get-together with friends. Their bite-sized nature allows you to indulge without overdoing it, which makes them an appealing option for the health-conscious, especially when you consider that a single cake pop typically contains fewer calories than an average cupcake.
Moreover, the fun factor can’t be overstated. Imagine gathering around with your friends, crafting your very own Starbucks Cake Pop Recipe. It’s not just about the finished product; it’s about the experience of creating something delicious together. You can customize your cake pops with colorful sprinkles, interesting flavor combinations, or themed decorations for the holidays—turning any occasion into a festive celebration.
For those interested in baking but intimidated by complicated recipes, cake pops offer a fantastic starting point. Unlike large cakes that require precise measurements and baking times, cake pops are forgiving and forgiving. If something goes awry, you can always cover it up with creative toppings.
If you’re curious about the origins of cake pops, you can find fascinating insights in this Cake Pop History article. And if you’re looking for tips on how to make the perfect cake pop, check out this excellent guide from Joy of Baking.
In the upcoming sections, we’ll explore a detailed Starbucks Cake Pop Recipe that captures the essence of those beloved café treats while offering some fun twists. Whether you’re an experienced baker or someone just starting out, you’re bound to enjoy this scrumptious journey into the world of cake pops!
Ingredients for Starbucks Birthday Cake Pop Recipe
Crafting a delightful treat like the famed Starbucks Cake Pop at home can be a rewarding experience. To ensure you have everything you need, let’s lay out the essential ingredients for this mouthwatering recipe.
Essential ingredients for a delicious treat
- Cake Mix: Opt for a vanilla or funfetti flavor to replicate that birthday cake goodness.
- Frosting: A classic vanilla frosting works best, as it helps bind the cake and adds moisture.
- Chocolate Melts: You’ll want both white and chocolate melts to coat your pops and give them that irresistible shine.
- Sprinkles: Birthday cake isn’t complete without sprinkles—grab a colorful mix for a festive finish.
- Lollipop Sticks: Essential for the pop structure; wooden sticks or plastic ones will do.
- Crushed Sandwich Cookies (optional): For added flavor and texture, consider incorporating some crushed cookies into the cake mix for that extra crunch.
By using these ingredients, you’re set to recreate that delicious taste of Starbucks Cake Pops right in your kitchen! If you want to dig deeper into cake decorating tips and techniques, check out this post on cake decorating essentials. Happy baking!
Step-by-step Preparation for Cake Pops
Are you ready to dive into the sweet world of cake pops? If you’ve ever craved a delicious Starbucks Cake Pop Recipe, you’re in for a treat! These adorable little delights are the perfect blend of cake and frosting, making them a favorite go-to snack. Let’s walk through the process together to ensure you master the art of cake pop creation!
Baking the cake
To start your Starbucks Cake Pop Recipe, it’s essential to bake your cake first. Opt for a flavor that you love—classic vanilla, rich chocolate, or even a funfetti version! Here’s how to get started:
- Ingredients: Gather your flour, sugar, eggs, butter, and any flavoring you’ve chosen.
- Preparation: Preheat your oven to 350°F (175°C). Grease and flour a 9×13-inch cake pan to prevent sticking. This step is crucial for easy cake removal.
- Mixing: In a mixing bowl, combine your dry ingredients first—flour, sugar, baking powder—and then add the wet ingredients. Pour the batter into your prepared pan and bake for about 30-35 minutes. The cake should be golden brown and a toothpick inserted into the center should come out clean.
Does your kitchen smell amazing yet? It’s the first hint of deliciousness coming your way!
Mixing the cake dough
Once your cake is cool, it’s time to turn that fluffy goodness into cake dough. You’re almost on your way to those delightful pops!
- Crumbling the Cake: Break the cooled cake into large pieces and place them in a bowl. Use your hands to crumble it into fine crumbs. Yes, it might get a little messy, but that’s part of the fun!
- Adding Frosting: Now, add store-bought or homemade frosting—about half a cup should do the trick. This addition binds your cake crumbs together. If you prefer a richer taste, you can even add a splash of vanilla extract or an espresso shot for that coffee kick reminiscent of your favorite Starbucks drink!
Remember, you want just enough frosting for the mixture to stick together but not so much it becomes overly sweet.
Shaping the cake balls
Now comes the fun part—shaping your cake pops!
- Portioning: Take small amounts of the mixture and roll them into balls, roughly 1-inch in diameter. You can use a cookie scoop to help with portioning if you want them all to be the same size.
- Chilling: Place the shaped cake balls onto a baking sheet lined with parchment paper and let them chill in the refrigerator for about 30 minutes. Chilling helps them firm up, making them easier to coat later.
At this stage, feel free to taste a ball—you’ll see why cake pops are so popular!
Melting the candy melts
To give your cake pops that gorgeous coating, we need to melt some candy melts. You can find multiple colors to make your pops even more festive!
- Guidelines: Follow the directions on the package, but a good rule of thumb is to melt them in 30-second increments in the microwave, stirring in between to avoid burning.
- Consistency Check: You want a smooth, pourable consistency. If it’s too thick, add a little shortening or coconut oil; if it’s too thin, you may need to add more melts.
Assembling the cake pops
With everything prepared, it’s time to pull it all together.
- Dipping: Dip the tip of a lollipop stick into the melted candy melts, then insert it into the cake ball about halfway through. This helps keep them from falling off later.
- Coating: Dip the entire cake ball into the melted candy and swirl it around for an even coat. Tap off any excess.
- Decorating: Before the coating sets, sprinkle on some decorations like sprinkles, or drizzle with contrasting colors of melted chocolate for a dazzling finish.
Let your cake pops cool upside down in a Styrofoam block or an egg carton until set.
And there you have it! A delightful homemade take on a Starbucks Cake Pop Recipe that’s sure to impress at your next gathering or just satisfy that sweet craving. Enjoy making these little treats, and remember, practice makes perfect! If you’re looking for more ideas on cake pop variations, check out Taste of Home for inspiration! Happy baking!
Variations on Starbucks Cake Pops
Birthday Cake Pop Variations
One of the best aspects of the Starbucks Cake Pop Recipe is its potential for endless creativity! Birthday cake pops are a celebration favorite, perfect for parties and gatherings. You can start with a vanilla cake base and add colorful sprinkles to mimic that joyful birthday cake feel.
Why not experiment with different frostings? A rich chocolate fudge or zesty lemon frosting could take your cake pops to new heights. Try incorporating flavors like almond or coconut for a unique twist. For extra flair, you can dip your pops in colored chocolate and top them with themed decorations, such as mini candles or edible glitter. Did you know that studies show visually appealing treats can increase appetite and enjoyment?
Seasonal Cake Pop Ideas
As seasons change, so can your cake pop flavors! Spring is a wonderful time to try out lemon and raspberry combinations, offering a refreshing twist that’s perfect for Easter celebrations. In the summer, think of tropical flavors like pineapple or coconut to keep it cool.
When autumn rolls around, spice things up with pumpkin or chai cake pops, covered in chocolate and adorned with seasonal sprinkles. Winter? Reach for peppermint or gingerbread flavors. Not only are these seasonal options fun to make, but they also keep your treats fresh and exciting all year round. The versatility of the Starbucks Cake Pop Recipe means you can cater to various tastes and occasions effortlessly.
For more festive ideas, consider checking out places like Food Network or Taste of Home for inspiration. The world of cake pops is your oyster!
Cooking Tips and Notes for Cake Pops
Common Mistakes to Avoid
When diving into the delicious world of the Starbucks Cake Pop Recipe, it’s essential to sidestep a few common pitfalls that could derail your sweet creation. Here are some handy tips:
- Overmixing the Batter: Avoid overmixing your cake mixture, as this can lead to dense pops. Gently combine the ingredients until just mixed.
- Incorrect Cake Crumble Size: Ensure your crumbled cake pieces are uniform in size. Too large, and they won’t hold together; too small, and they may make for a dry pop.
- Skipping the Chill: Chilling your formed cake balls before dipping is key. If they’re too warm, they can melt in the coating. A quick 15-30 minutes in the fridge works wonders.
- Dipping Technique: Dip quickly and shake off excess coating. This helps prevent clumping and ensures a smooth finish.
Remember, practice makes perfect! Don’t hesitate to explore online resources or tutorials to refine your techniques for the ultimate Starbucks Cake Pop Recipe success. With a little patience, your cake pops will look (and taste) café-quality!
Serving Suggestions for Cake Pops
Creative ways to present your cake pops
When it comes to the Starbucks Cake Pop Recipe, presentation is key to making your sweet treats irresistible. Here are some delightful serving suggestions to elevate your cake pops:
-
Unique Stand Options: Use a cake pop stand or a decorative floral arrangement to hold your pops upright. This not only adds visual appeal but also makes it easier for guests to grab a treat.
-
Themed Displays: Customize your presentation based on the occasion. For a birthday party, consider adding colorful balloons or confetti. For a more elegant affair, a simple white platter and soft lighting can create a sophisticated ambiance.
-
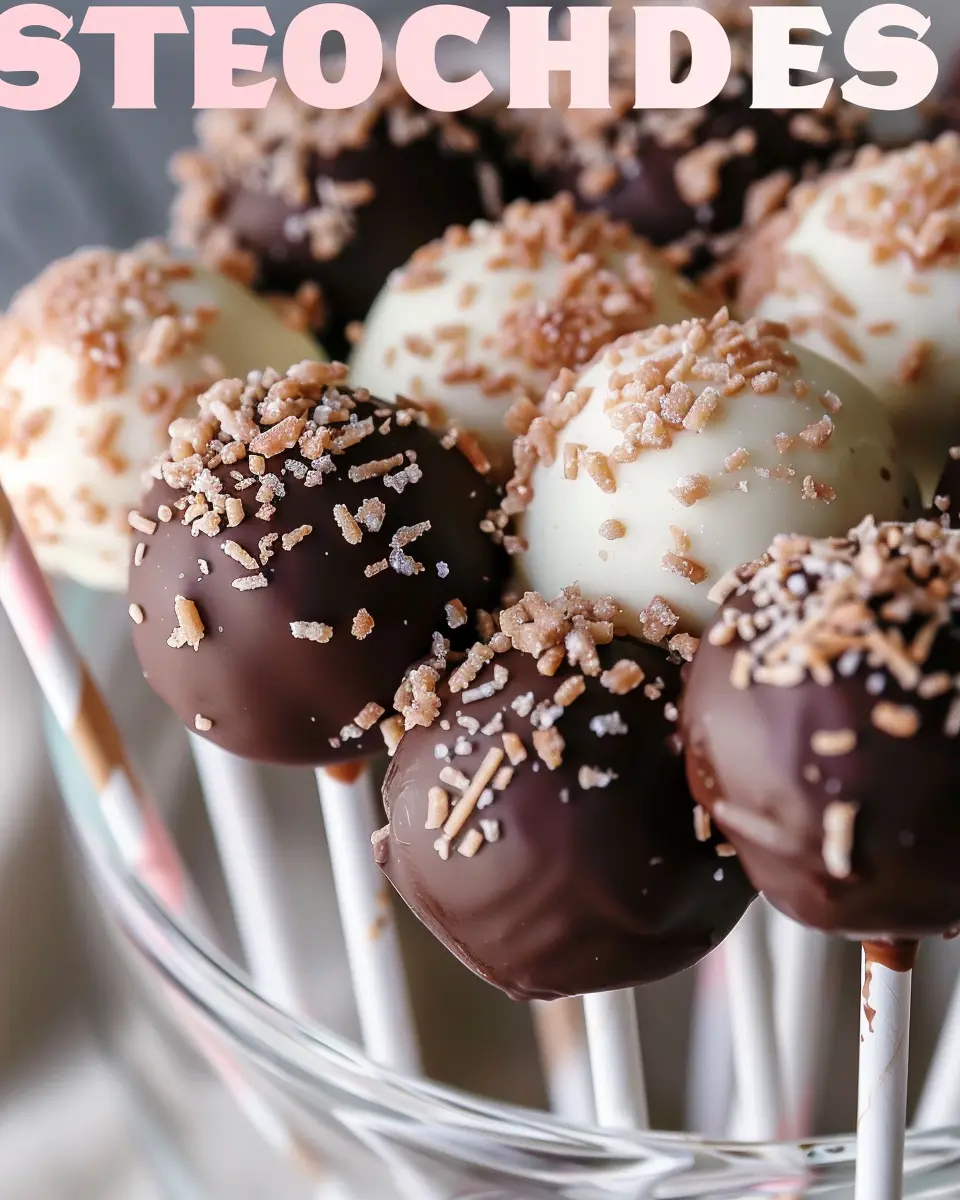
Dipping Choices: Experiment with different chocolate mimicking the famous Starbucks finishes. Try white chocolate, dark chocolate, or even a drizzle of caramel for an added touch.
-
Accessorize Wisely: Have fun with toppings! Sprinkles, crushed nuts, or even edible glitter can transform your cake pops into mini masterpieces.
For more creative ideas, check out this resource on dessert styling. Your cake pops will not only taste heavenly but will also be a hit with your friends and family!
Time Breakdown for Making Cake Pops
When you’re diving into the delightful world of cake pops, it’s essential to allocate your time effectively. Here’s a quick breakdown for the Starbucks Cake Pop Recipe that takes the guesswork out of your baking adventure!
Preparation Time
Getting started will take you about 30 minutes. This involves gathering your ingredients, mixing the cake batter, and preparing your workspace. A little organization here goes a long way!
Baking Time
The actual baking will take approximately 25-30 minutes. Depending on your oven’s quirks, give them a check as they approach the 25-minute mark to avoid any surprises.
Cooling and Setting Time
After baking, you’ll need about 20-30 minutes for the cake to cool. Then, when you coat your pops in chocolate, plan for at least another 15-20 minutes to let that layer set.
Ready to impress your friends with these tasty treats? Check out Serious Eats for more baking tips!
Nutritional Facts for Cake Pops
Understanding the nutritional profile of cake pops can help you enjoy this delightful treat with informed choices. Here’s a quick look at the crucial facts to consider.
Calories
A typical cake pop contains about 150-200 calories, depending on the ingredients and size. These sweet morsels are often enjoyed as an occasional indulgence rather than an everyday snack.
Sugar Content
With around 10-15 grams of sugar per pop, it’s easy to see why cake pops are tempting! This sweetness can be satisfying, but if you’re mindful of sugar intake, consider sharing or savouring half.
Allergens
Keep in mind that cake pops may contain common allergens, including wheat, eggs, and dairy. For those with specific dietary needs, always check ingredient lists or explore alternative recipes for your homemade version of the Starbucks Cake Pop Recipe.
For more detailed nutritional info, check out resources from the USDA or consult a registered dietitian for personalized advice.
FAQ About Starbucks Cake Pop Recipe
Can I use gluten-free cake mix?
Absolutely! If you’re looking for a gluten-free option for your Starbucks Cake Pop Recipe, simply substitute the regular cake mix with a gluten-free variety. Many brands offer gluten-free cake mixes that deliver delicious results. Just be aware that texture and moisture levels may vary slightly; feel free to add a little extra frosting if needed to achieve that ideal consistency during assembly.
How long do cake pops last?
Properly stored, cake pops can last about 1 week in the refrigerator. To maintain freshness, wrap them individually in plastic wrap or place them in an airtight container. If you’re planning to enjoy them beyond a week, consider freezing them. Just ensure to wrap them tightly before placing them in the freezer. When you’re ready to eat, just let them thaw in your fridge overnight—easy as pie!
What can I substitute for candy melts?
If you can’t find candy melts, there are a few alternatives you can use. Chocolate chips are a popular option, but be sure to add a bit of vegetable oil to help them melt smoothly. You can also try melting chocolate bars or even colored chocolate compound for that eye-catching finish. Just remember, these alternatives might not provide the same glossy look that candy melts do, so choose what works best for your occasion!
For seals of approval on baking substitutes and tips, check out King Arthur Baking where they explore delightful baking alternatives that could elevate your cake pop game!
Conclusion on Starbucks Cake Pop Recipe
Enjoy your homemade cake pops!
Making your very own Starbucks Cake Pop Recipe is not just a fun baking project; it’s a delightful way to treat yourself and your friends. These cute, bite-sized desserts are perfect for gatherings, celebrations, or even a cozy night in. Imagine the satisfaction of savoring a cake pop crafted by your own hands—there’s truly nothing like it!
As you dive into creating these little delights, remember to customize the flavors and decorations to match your style. Whether you go classic with a chocolate coating or get adventurous with sprinkles, each pop can reflect your unique taste. For more inspiration, check out resources like BBC Good Food for endless baking ideas and techniques. Enjoy the process and the delicious results!
PrintStarbucks Cake Pop Recipe: Easy Indulgence for Homemade Treats

Try this Starbucks Cake Pop Recipe for a delicious treat that you can make at home.
- Prep Time: 20 minutes
- Cook Time: 30 minutes
- Total Time: 1 hour
- Yield: 20 cake pops 1x
- Category: Dessert
- Method: Baking
- Cuisine: American
- Diet: Vegetarian
Ingredients
- 1 box chocolate cake mix
- 1 cup frosting
- 8 oz chocolate melts
- 1 tbsp sprinkles
Instructions
- Prepare the chocolate cake mix according to package instructions and bake.
- Once cooled, crumble the cake into a large bowl.
- Add frosting gradually, mixing until the mixture is moldable.
- Form into small balls and place on a baking sheet.
- Freeze for about 30 minutes.
- Melt chocolate melts in a microwave-safe bowl.
- Dip the end of each stick into the melted chocolate and insert into each cake ball.
- Dip each cake pop into the melted chocolate, allowing excess to drip off.
- Decorate with sprinkles before the chocolate sets.
- Let them cool and harden completely.
Notes
- Store in an airtight container for up to a week.
- Feel free to use different flavors of cake mix and frosting.
Nutrition
- Serving Size: 1 cake pop
- Calories: 150
- Sugar: 12g
- Sodium: 80mg
- Fat: 7g
- Saturated Fat: 4g
- Unsaturated Fat: 2g
- Trans Fat: 0g
- Carbohydrates: 18g
- Fiber: 0g
- Protein: 2g
- Cholesterol: 20mg
Keywords: Starbucks, Cake Pops, Homemade Treats, Baking