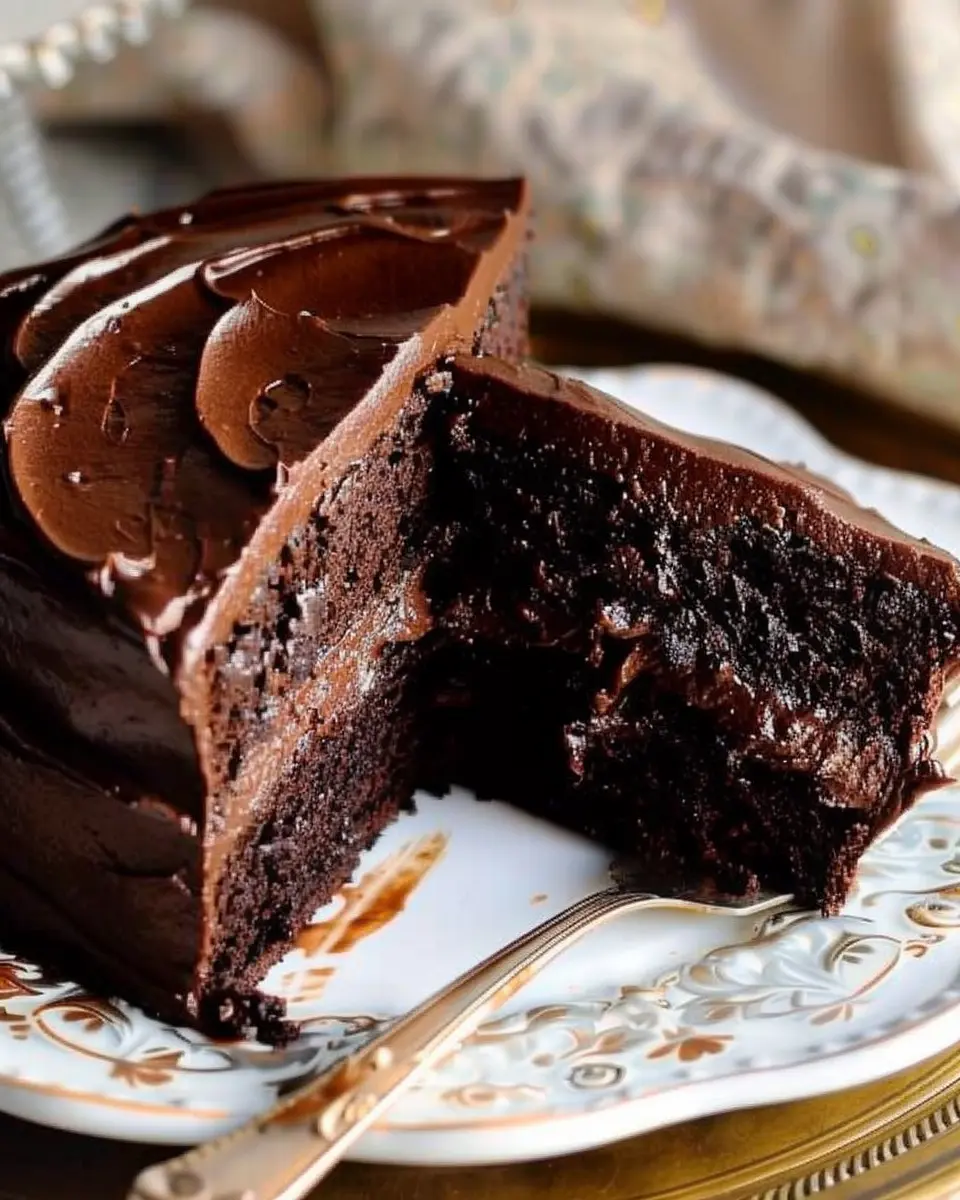
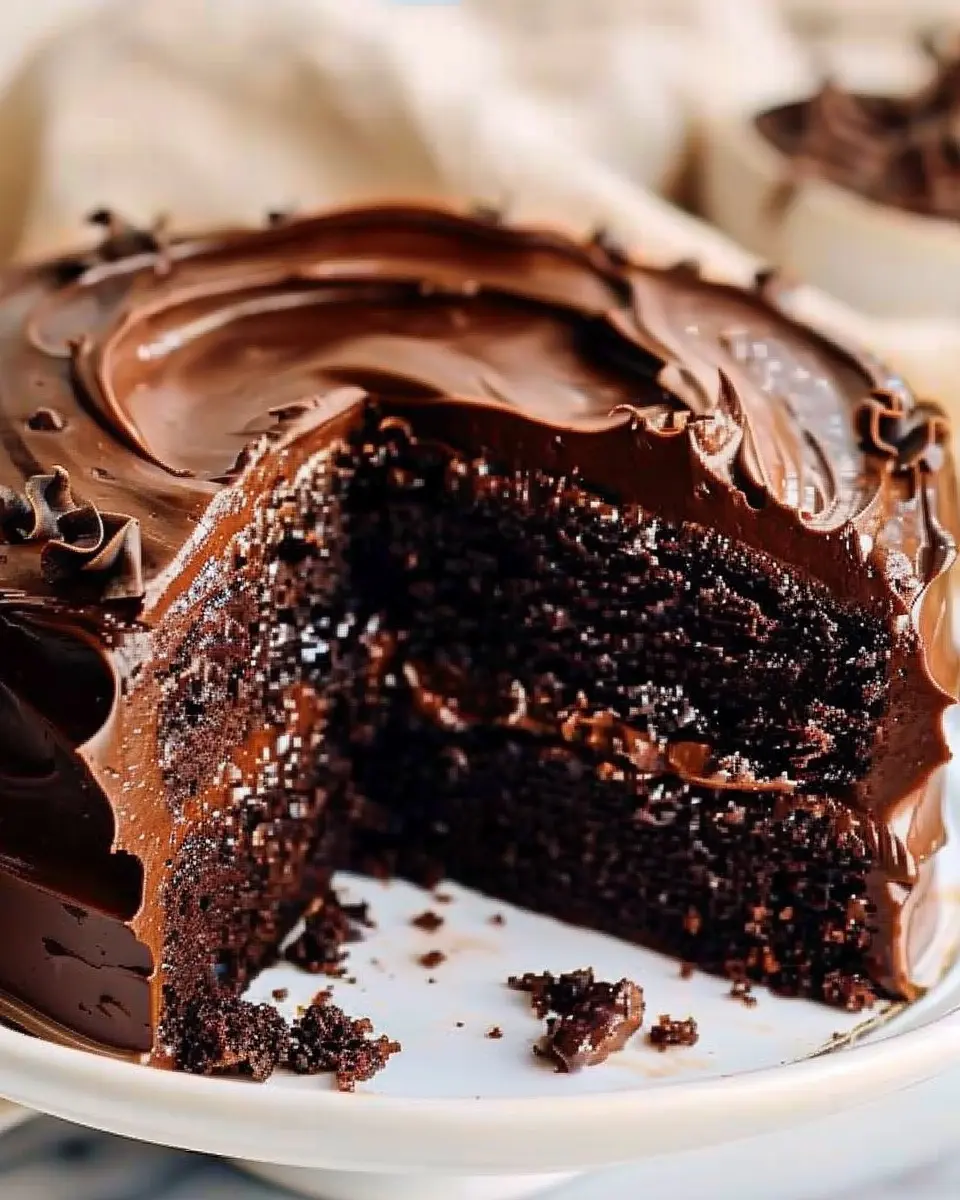
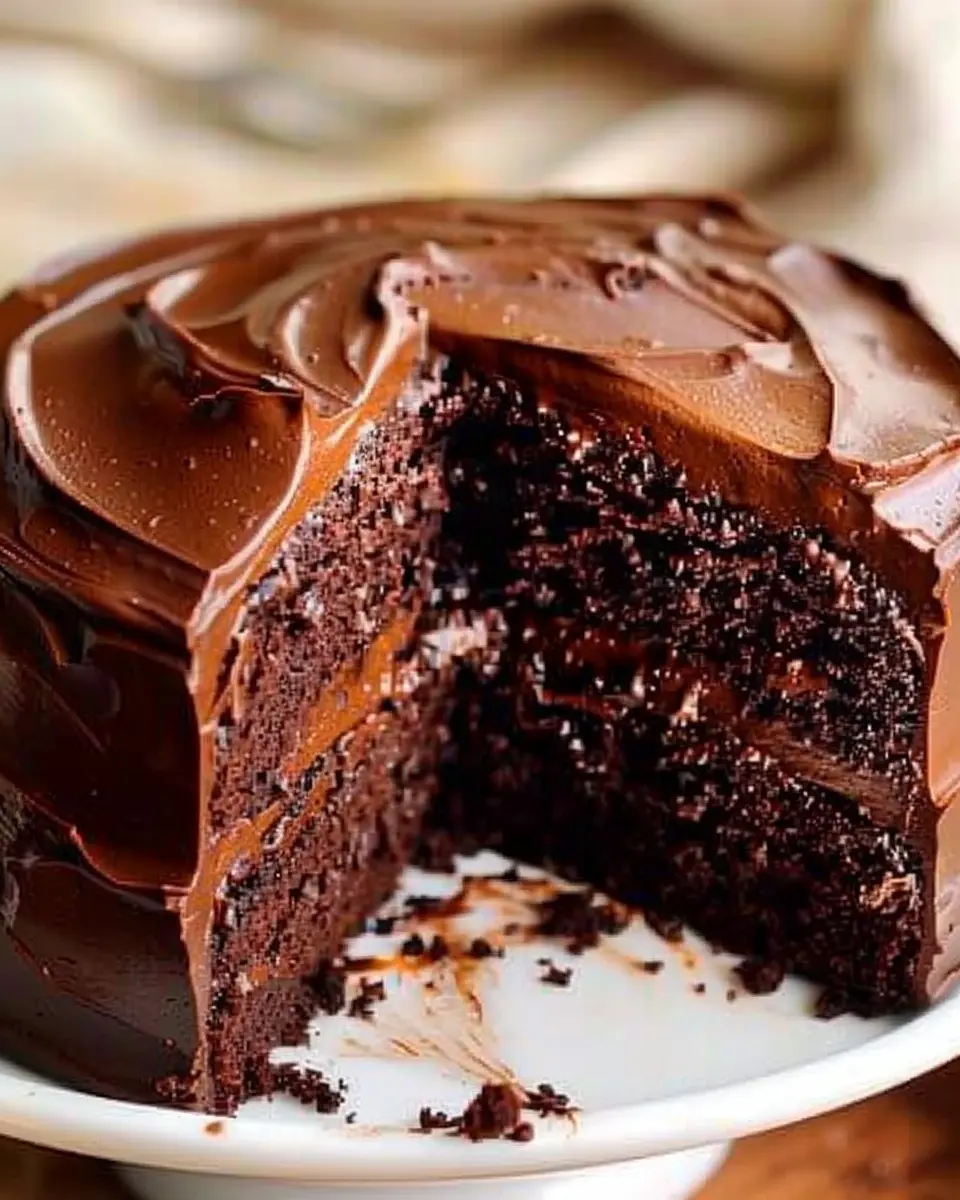
Introduction to the Best Matilda’s Chocolate Cake
Finding the best Matilda’s chocolate cake recipe is like uncovering a treasure trove of flavor and joy. For young professionals juggling hectic work schedules and social commitments, the idea of baking may feel like a daunting task. However, trust me when I say that indulging in a homemade cake is a game-changer. Not only does it give you a chance to unwind, but it also allows you to impress friends and colleagues with your culinary skills.
Why is homemade cake a must-try for young professionals? The answer is simple: it’s all about the experience.
The Benefits of Baking Your Own Cake
-
Creativity released: Baking is a fantastic outlet for creativity. The joy of choosing your ingredients and perfecting your recipe is a fulfilling escape from work pressures.
-
Healthier alternatives: You control what goes into your cake. Swap butter for healthier fats, use organic cocoa, or reduce sugar without sacrificing taste. This flexibility can make your baking both delicious and nutritious.
-
Cost-effective treats: Store-bought cakes can be surprisingly pricey, and often they don’t meet your flavor expectations. By making your cake, not only do you save money, but you also make a dessert that’s tailored to your taste.
-
Building connections: Baking allows you to share something special with others. From bringing your cake to the office to celebrating a friend’s birthday, it’s a great way to connect and create lasting memories.
-
Stress relief: Engaging in a hands-on process like baking can be a much-needed therapeutic escape. The rhythm of mixing and measuring can clear your mind and provide that necessary break from the daily grind.
Incorporating this best Matilda’s chocolate cake into your routine isn’t just about dessert; it’s about enhancing your quality of life. So, put on your apron, preheat that oven, and let’s dive into the delicious world of homemade baking. I promise you won’t regret it! If you’re looking for inspiration, check out Serious Eats for more baking tips and tricks.
Ingredients for the Best Matilda’s Chocolate Cake
When it comes to making the best Matilda’s chocolate cake, quality ingredients are key. The magic happens when you select fresh, high-quality components that blend beautifully to create a moist and decadent treat.
Essential Ingredients
- All-purpose flour: 1 and 3/4 cups for the perfect cake structure.
- Granulated sugar: 2 cups, giving that essential sweetness.
- Unsweetened cocoa powder: 3/4 cup, because every chocolate cake needs a deep, rich flavor.
- Baking powder and baking soda: 1 and 1/2 teaspoons of each for that ideal rise.
- Salt: 1 teaspoon to balance the sweetness and enhance flavors.
- Eggs: 2 large for binding and richness.
- Whole milk: 1 cup to add moisture.
- Vegetable oil: 1/2 cup for tenderness in every bite.
- Vanilla extract: 2 teaspoons to elevate the overall flavor.
- Boiling water: 1 cup for creating that moist, fudge-like texture.
Using these ingredients will set the stage for your delightful creation. For more insights on baking tips and techniques, feel free to check out King Arthur Baking for expert advice!
Step-by-step Preparation of the Best Matilda’s Chocolate Cake
Baking the best Matilda’s chocolate cake isn’t just about following a recipe; it’s about creating an experience that’s as delicious as it is fulfilling. Let’s dive into the step-by-step preparation of this decadent treat that’s sure to impress friends and family alike.
Preheat your oven and prepare your baking pans
Start with preheating your oven to 350°F (175°C). This ensures that the cake bakes evenly, giving you that moist interior we all love. While the oven is warming up, prepare your baking pans by greasing them with butter or non-stick spray, and lightly dusting them with cocoa powder. This little extra step will help the cake layers slide out smoothly once baked. If you’re feeling adventurous, consider using parchment paper for even easier removal!
Combine dry ingredients for the cake base
In a large mixing bowl, gather your dry ingredients. You will need:
- 1 ¾ cups of all-purpose flour
- 2 cups of granulated sugar
- ¾ cup of unsweetened cocoa powder
- 1 ½ teaspoons of baking powder
- 1 ½ teaspoons of baking soda
- 1 teaspoon of salt
Whisk these ingredients together until they are well combined. This not only breaks up any clumps but also ensures that your leavening agents and flavorings are evenly distributed throughout the cake. Did you know that the separation of dry ingredients can impact the fluffiness of your cake? It’s worth it!
Mix the wet ingredients with the dry ingredients
In a separate bowl, combine your wet ingredients. You will need:
- 2 large eggs
- 1 cup of whole milk
- ½ cup of vegetable oil
- 2 teaspoons of vanilla extract
Once mixed, pour this combination into your dry ingredients. Using a hand mixer or stand mixer, blend everything together until smooth and well incorporated. Don’t worry if there are a few small lumps; they will bake out. Just remember to scrape down the sides of the bowl halfway through to ensure even mixing.
Add coffee to enhance chocolate flavor
Here’s a little baking secret: adding coffee to chocolate recipes intensifies the chocolate flavor. Brew one cup of strong coffee (or use instant coffee) and let it cool slightly. Then, add it to the cake batter, mixing gently until just combined. The coffee won’t make your cake taste like coffee; instead, it will elevate the rich chocolate taste to another level!
Bake the cake layers and let them cool
Evenly distribute your cake batter into the prepared pans. Bake in your preheated oven for 30-35 minutes, or until a toothpick inserted into the center comes out clean. Once baked, remove from the oven and allow your cake layers to cool in the pans for about 10 minutes before transferring them to wire racks. This little wait will help minimize cracks and preserve that beautiful fluffy texture.
Prepare the chocolate fudge frosting
While the cake layers are cooling, it’s time to make the rich chocolate fudge frosting that will complete your best Matilda’s chocolate cake. You’ll need:
- 1 cup of unsalted butter (softened)
- 3 ½ cups of powdered sugar
- ½ cup of unsweetened cocoa powder
- ½ cup of heavy cream
- 2 teaspoons of vanilla extract
In a bowl, beat the softened butter until creamy. Gradually add the powdered sugar and cocoa powder, alternating with the heavy cream, mixing until you reach the desired consistency. This frosting should be smooth and easy to spread.
Frost and assemble the cake
Once your cake layers are completely cool, you can start frosting! Place one layer on a serving plate, spread a generous layer of frosting on top, and then place the second cake layer on top. For the final touch, frost the top and sides of the cake, letting some of that decadent frosting spill over the edges for an inviting look. To make it extra special, add chocolate shavings or sprinkles and put your own spin on it.
And there you have it—the perfect best Matilda’s chocolate cake ready to enjoy! This cake is sure to be a crowd-pleaser, and it’s the perfect way to celebrate any occasion. For more tips on baking and frosting techniques, be sure to check out resources like Tasty or Bon Appétit. Happy baking!
Variations of the Best Matilda’s Chocolate Cake
When it comes to the best Matilda’s chocolate cake, there are so many ways to personalize this classic delight. Whether you’re catering to dietary needs or just want to spice things up, these variations will help you create something truly unique.
Gluten-free Version
For those who follow a gluten-free diet, you can easily transform the best Matilda’s chocolate cake into a crowd-pleaser everyone can enjoy. Simply swap out all-purpose flour for a 1:1 gluten-free baking blend. Make sure to check that your baking powder is gluten-free as well. Additionally, incorporating almond flour can add a delightful nuttiness and extra moisture to the cake. A great resource for gluten-free baking tips can be found here.
Adding a Twist: Caramel or Fruit Toppings
Once you’ve mastered the base recipe, consider giving your cake an exciting twist with toppings. Drizzling warm caramel sauce over the top adds a luxurious sweetness that balances wonderfully with the rich chocolate. Alternatively, fresh fruit can elevate your dessert to a whole new level. Think strawberries, raspberries, or even a tangy orange glaze. Not only do these toppings enhance the visual appeal, but they also offer delightful flavor contrasts. Ever figured out how much a little fruity zing can transform dessert? It’s like discovering a hidden gem in your own kitchen!
Incorporate any of these variations into your next baking adventure, and you might just create a new favorite version of the best Matilda’s chocolate cake!
Cooking Tips and Notes for the Best Matilda’s Chocolate Cake
When you’re preparing the best Matilda’s chocolate cake, a few simple tips and notes can elevate your baking experience.
Ingredients Matter
Choosing high-quality ingredients, particularly your cocoa powder and chocolate, is key. Look for unsweetened cocoa with a rich flavor, as this will significantly impact your cake’s taste.
Don’t Rush the Process
Baking is a science; follow the measurements carefully. It’s tempting to throw everything together quickly, but taking that extra time ensures that everything blends perfectly.
Room Temperature Ingredients
Using room temperature eggs and butter allows for better emulsification, creating a smoother batter. If you’re short on time, warm the eggs gently in a bowl of hot water for a few minutes.
Whip It Good
For a light, airy cake, make sure to cream the butter and sugar until fluffy. This not only incorporates air into the batter but also enhances the texture of the best Matilda’s chocolate cake.
Baking Tips
Rotate your cake pans halfway through baking to ensure even cooking. Also, use a toothpick to check for doneness—if it comes out clean, your cake is ready!
Incorporating these tips will make the process enjoyable and yield delicious results! For additional insights on baking science, consider checking out King Arthur Baking.
Serving Suggestions for the Best Matilda’s Chocolate Cake
When it comes to enjoying the best Matilda’s chocolate cake, the right accompaniments can elevate your dessert experience to new heights. Here are a few delightful ideas:
Pair with Whipped Cream or Ice Cream
Imagine a soft slice of chocolate cake topped with a cloud of whipped cream or a scoop of vanilla ice cream. The creaminess complements the rich chocolate perfectly. For a twist, consider using flavors like mint or coffee to add a unique dimension.
Add Fresh Berries for a Burst of Flavor
Don’t overlook the potential of fresh berries! Strawberries, raspberries, or blueberries provide a tart contrast to the sweet cake. Plus, they add a pop of color to your dessert presentation. This is a great way to incorporate a bit of nutrition while satisfying your sweet tooth.
Serve with a Side of Hot Chocolate Sauce
For an indulgent treat, drizzle warm chocolate sauce over your cake slice. This extra touch creates an ooey-gooey experience that will leave everyone asking for more.
Create a delightful gathering by pairing your best Matilda’s chocolate cake with a homemade hot beverage like chai or herbal tea. Not only is this comforting, but it’s also a low-key alternative to coffee. For more beverage ideas, check out this fantastic guide on hot beverages.
The right serving suggestions can make all the difference. Enjoy crafting the perfect cocoa experience!
Time Breakdown for Making the Best Matilda’s Chocolate Cake
Creating the best Matilda’s chocolate cake is not only rewarding but also manageable within a structured timeframe. Here’s a handy breakdown to guide you through the process effortlessly.
Preparation Time
Expect to spend about 20-25 minutes gathering your ingredients and mixing the batter. This is a great time to immerse yourself in the delightful aroma of cocoa and vanilla! While prepping, be sure to set the mood with some energetic tunes.
Baking Time
After pouring your lovingly crafted batter into the cake pans, the baking will take roughly 30-35 minutes. The smell will fill your kitchen, making it hard to resist peeking! To ensure a perfectly baked cake, consider using a toothpick test to check for doneness.
Total Time
In total, you’re looking at about 1 hour from start to finish! This includes preparation and baking. With a little practice, you’ll find this method becoming second nature, leaving you plenty of time to enjoy the delicious rewards.
For tips on baking success, check out this expert guide that can provide insights into baking science!
Nutritional Facts for the Best Matilda’s Chocolate Cake
When indulging in the best Matilda’s chocolate cake, it’s good to know just what you’re treating yourself to! Here’s a quick breakdown of the nutritional facts:
Calories
Each slice of this decadent cake comes in at approximately 350 calories. It’s an indulgence, but it’s perfect for celebrating life’s special moments!
Protein
You’ll find around 4 grams of protein per slice, thanks to the eggs and any yogurt you might include. While it’s not a protein powerhouse, every little bit helps!
Sugar Content
With about 25 grams of sugar per slice, this cake isn’t shy about its sweetness. For alternative sweetening tips, check out Healthline’s guide on healthier options.
Enjoying a slice of the best Matilda’s chocolate cake is all about balance. Pair it with a warm cup of herbal tea for a delightful treat!
FAQs about the Best Matilda’s Chocolate Cake
Can I use a different type of chocolate?
Absolutely! The best Matilda’s chocolate cake thrives on the richness of chocolate, but feel free to experiment. If you prefer a milder flavor, consider using semi-sweet chocolate instead of dark chocolate. Alternatively, bittersweet chocolate can add a deeper taste. Just keep in mind that the chocolate’s sweetness and cocoa content can influence the cake’s final flavor, so you might want to adjust the sugar levels accordingly.
How do I store the cake for freshness?
To keep your best Matilda’s chocolate cake moist and delicious, store it properly. Here’s how:
- Room Temperature: If you plan to eat the cake within 2-3 days, cover it with a cake dome or plastic wrap and store it at room temperature.
- Refrigeration: For longer storage, place the cake in the fridge. It will last up to a week when wrapped tightly. Just remember that cold air can dry it out, so the key is to keep it well-covered.
- Freezing: If you need to store it for more than a week, slice it and wrap each piece in plastic before placing them in an airtight container. It can last up to 3 months in the freezer.
What can I substitute if I don’t have buttermilk?
Running out of buttermilk is no problem! You can easily make a substitute by mixing the same amount of plain yogurt or sour cream with water until it reaches the consistency of buttermilk. Alternatively, adding one tablespoon of vinegar or lemon juice to a cup of milk and letting it sit for about 5-10 minutes works wonders too. This keeps your cake tender and moist, just like the original recipe intends.
Whether you’re diving into another baking adventure or just enjoying this heavenly chocolate delight, remember that every little tweak can make your best Matilda’s chocolate cake uniquely yours!
Conclusion on the Best Matilda’s Chocolate Cake
In summary, the best Matilda’s chocolate cake isn’t just about the rich ingredients or the perfect baking time; it’s about the experience of making and sharing it with loved ones. This cake embodies joy, nostalgia, and that magical touch every time you slice into it. Imagine the delight on your friends’ faces as they savor the chocolatey goodness!
To elevate your baking game, don’t forget to experiment with personal touches, such as adding a hint of cinnamon or a dash of espresso for extra depth. If you’re looking for inspiration on variations, check out sources like BBC Good Food for ideas.
Happy baking, and may your kitchens be filled with blissful chocolatey aromas!
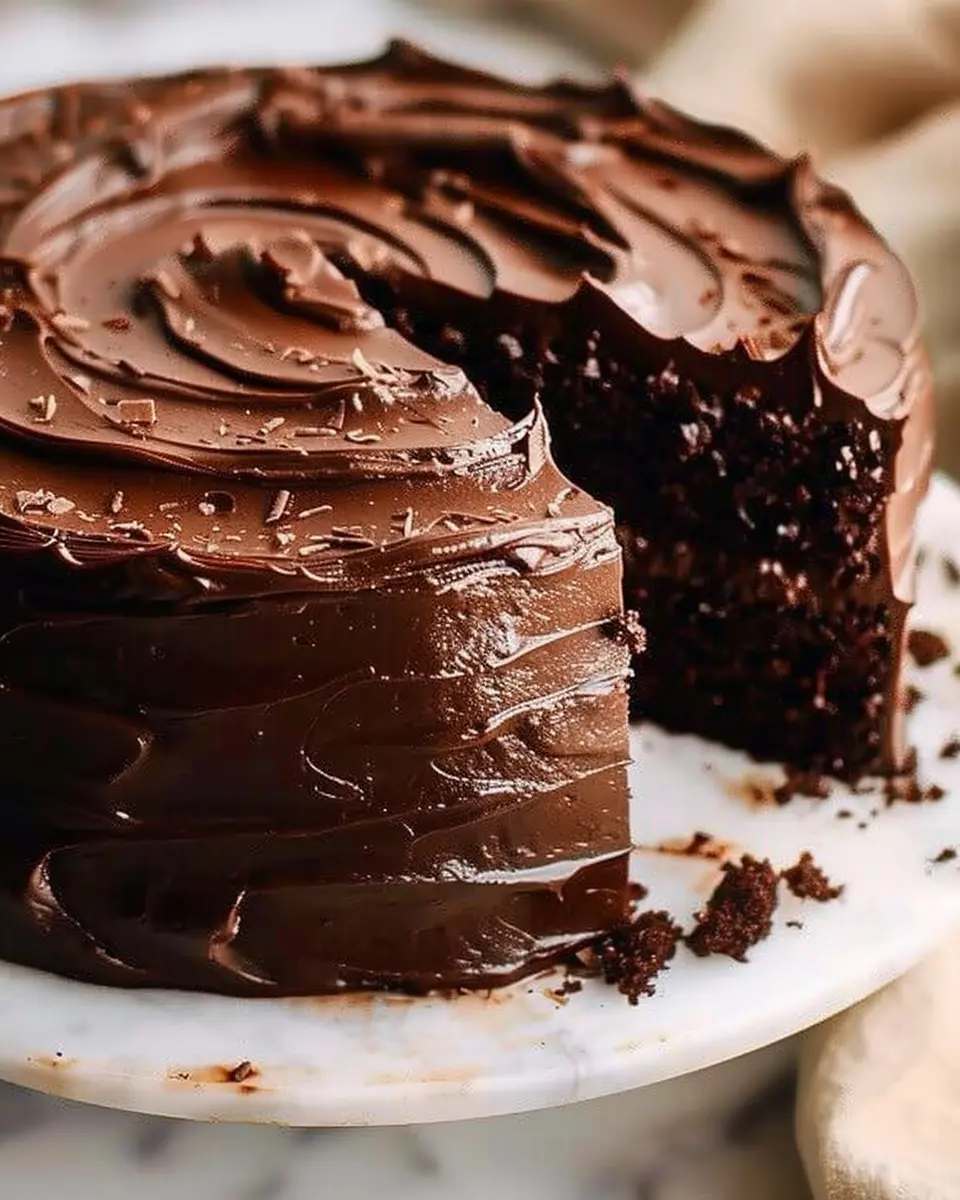
PrintBest Matilda’s Chocolate Cake: An Indulgent Treat for Everyone
The Best Matilda’s Chocolate Cake is a rich and delicious dessert that pleases chocolate lovers of all ages. This indulgent cake features a moist texture and a deep chocolate flavor, making it perfect for any occasion.
- Prep Time: 15 minutes
- Cook Time: 35 minutes
- Total Time: 50 minutes
- Yield: 12 servings 1x
- Category: Dessert
- Method: Baking
- Cuisine: American
- Diet: Vegetarian
Ingredients
- 1 ¾ cups all-purpose flour
- 1 ¾ cups granulated sugar
- ¾ cup unsweetened cocoa powder
- 1 ½ teaspoons baking soda
- 1 ½ teaspoons baking powder
- 1 teaspoon salt
- 2 large eggs
- 1 cup whole milk
- ½ cup vegetable oil
- 2 teaspoons vanilla extract
- 1 cup boiling water
Instructions
- Preheat your oven to 350°F (175°C) and grease two 9-inch round cake pans.
- In a large mixing bowl, combine the flour, sugar, cocoa powder, baking soda, baking powder, and salt.
- Add the eggs, milk, oil, and vanilla to the dry ingredients and mix until well combined.
- Carefully stir in the boiling water until the batter is smooth.
- Divide the batter evenly between the prepared cake pans.
- Bake for 30-35 minutes, or until a toothpick inserted into the center of the cakes comes out clean.
- Allow the cakes to cool in the pans for 10 minutes before transferring to a wire rack to cool completely.
Notes
- For a richer flavor, use high-quality cocoa powder.
- Feel free to add chocolate chips to the batter for extra indulgence.
Nutrition
- Serving Size: 1 slice
- Calories: 450
- Sugar: 32g
- Sodium: 300mg
- Fat: 18g
- Saturated Fat: 4.5g
- Unsaturated Fat: 10g
- Trans Fat: 0g
- Carbohydrates: 60g
- Fiber: 2g
- Protein: 6g
- Cholesterol: 50mg
Keywords: Best Matilda's Chocolate Cake, chocolate cake, dessert recipe