Introduction to Red Velvet Cake
When you think of classic desserts, Red Velvet Cake often comes to mind. But what is it about this strikingly beautiful cake that makes it such a standout choice for celebrations and special occasions?
Why is Red Velvet Cake a standout dessert?
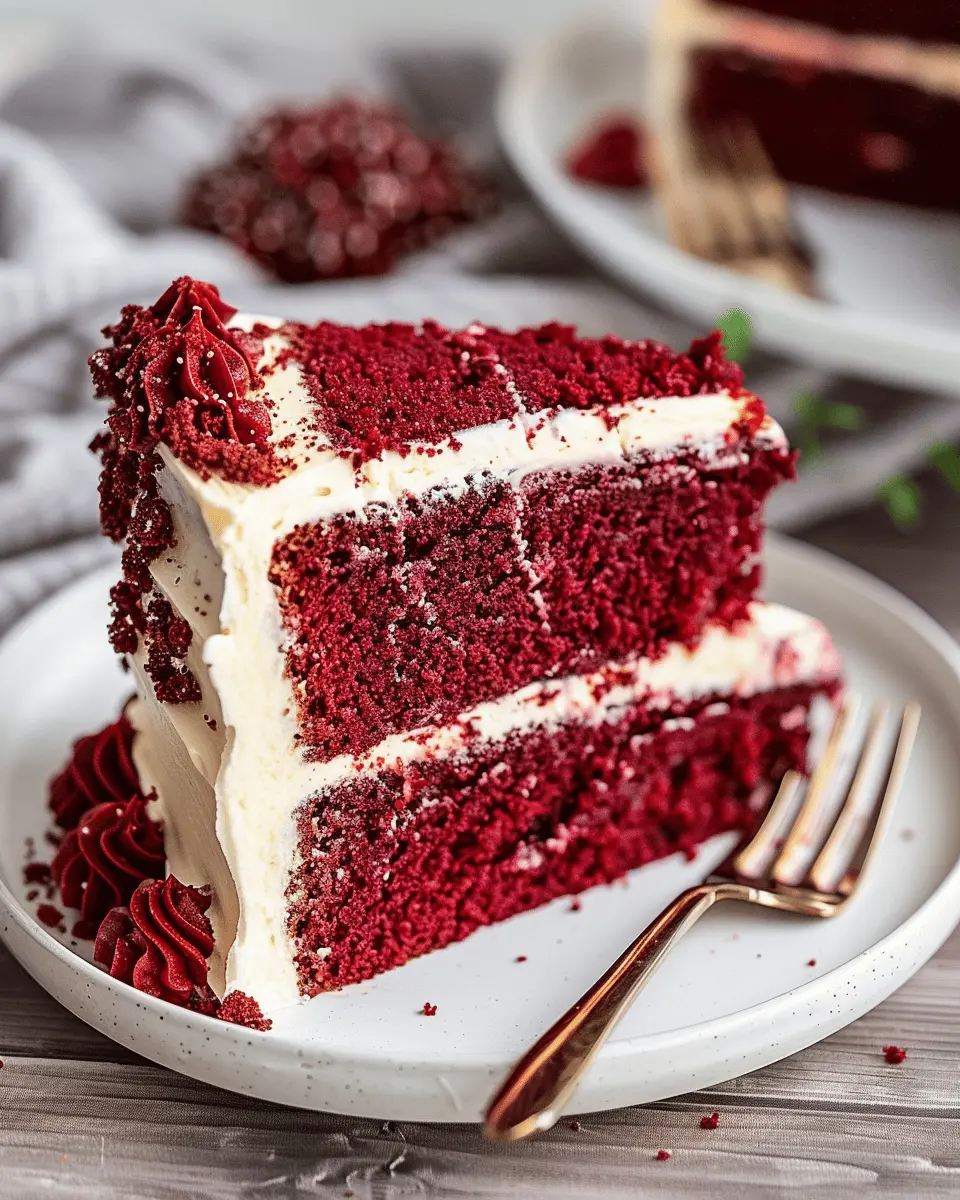
To begin with, the vibrant red color of Red Velvet Cake is undeniably eye-catching. It sets a festive mood, making it perfect for birthdays, anniversaries, and even holidays. This unique hue comes from the combination of cocoa powder and buttermilk, which gives the cake its iconic reddish-brown tint. While the color might steal the show, it’s the cake’s tender crumb and subtle chocolate flavor that have earned it a devoted following.
Interestingly, the origins of this remarkable dessert date back to the early 20th century, when it was popularized by various food companies. Some even say that the original recipe was a marketing ploy! If you want to delve into the fascinating history, you can check sources like Smithsonian Magazine for an engaging read.
Another reason Red Velvet Cake stands out is its complementary frosting. Traditionally topped with a rich cream cheese frosting, each bite offers a balance of sweet and tangy flavors that enhance the cake’s depth. This combination creates a delightful experience that keeps dessert lovers coming back for more.
If you’d like to take your cooking skills to the next level, understanding the science behind baking is essential. Various resources, like King Arthur Baking, provide insight into how ingredients work together to create that perfectly tender texture.
Moreover, Red Velvet Cake is versatile. You can adapt it to suit dietary preferences, experiment with different frostings, or use it in creative dessert mash-ups, like Red Velvet cupcakes or trifles. The possibilities are endless, making it a fantastic canvas for any home baker.
As we explore the delicious world of Red Velvet Cake, prepare to discover your new favorite recipe that will impress not only your taste buds but also your friends and family.
Ingredients for Red Velvet Cake
Essential components for a classic recipe
When it comes to red velvet cake, the beauty lies not just in its striking color but also in its rich flavor profile. Here are the essential ingredients you’ll need for this classic treat:
- All-purpose flour: This forms the base of your cake, giving it structure.
- Granulated sugar: For sweetness and moisture.
- Cocoa powder: A subtle, rich element to complement the cake’s flavors.
- Baking powder and baking soda: Essential for that perfect rise.
- Vegetable oil: Keeps the cake wonderfully moist.
- Buttermilk: Adds tang and aids in creating that signature tenderness.
- Vinegar: Balances flavors and reinforces the red hue.
- Eggs: Acts as a binding agent while contributing to moisture.
- Red food coloring: The star of the show! It gives this cake its eye-catching appearance.
Optional ingredients for a unique twist
Want to elevate your red velvet cake experience? Consider these optional ingredients for a unique twist:
- Cream cheese or buttercream frosting: A classic pairing, but feel free to try flavored varieties like lemon or caramel!
- Chopped nuts or chocolate chips: For added texture and flavor.
- Spices like cinnamon or nutmeg: To infuse your cake with warm undertones.
- Vanilla extract: A splash can enhance the overall flavor profile.
These variations can spark your creativity in the kitchen! If you’re looking for more tips on baking, check out this baking guide. With the right ingredients and a dash of enthusiasm, you’ll be well on your way to creating a delightful red velvet masterpiece.
Preparing Red Velvet Cake
Red Velvet Cake isn’t just a dessert; it’s an experience that brings a touch of elegance to any occasion. The combination of creamy frosting and rich, cocoa-infused layers takes this cake to new heights. Let’s dive into the detailed preparation steps that will have your kitchen filled with delightful aromas!
Gather and Measure Your Ingredients
Before you start baking, it’s essential to have all your ingredients at hand. This not only streamlines the cooking process but also ensures that you don’t get caught mid-recipe searching for that elusive item.
Here’s what you’ll need:
-
Dry Ingredients:
-
2 ½ cups all-purpose flour
-
1 ½ cups granulated sugar
-
1 teaspoon baking powder
-
1 teaspoon baking soda
-
1 teaspoon salt
-
1 tablespoon unsweetened cocoa powder
-
Wet Ingredients:
-
1 cup vegetable oil
-
1 cup buttermilk (if you don’t have buttermilk, you can create a substitute by adding one tablespoon of white vinegar to regular milk)
-
2 large eggs
-
2 tablespoons red food coloring
-
1 teaspoon vanilla extract
-
1 teaspoon white vinegar
Make sure to take your time measuring everything accurately. Precision is key to achieving that moist red velvet cake texture.
Create the Chocolate Coffee Mixture
While traditional recipes often call for cocoa powder, adding a hint of coffee can enhance the chocolate flavor without overtaking it.
- Dissolve 1 tablespoon of cocoa powder in 1 cup of hot water or strong brewed coffee.
- Let it cool slightly before incorporating it into the mix. The coffee will deepen the taste of the cake and introduce a more complex flavor profile.
Thinking of trying different flavor enhancers? A dash of espresso powder can give you that kick!
Combine the Dry Ingredients
In a large mixing bowl, sift together your dry ingredients. This step ensures that everything is evenly combined, preventing any lumpy surprises in your red velvet cake.
- Mix the flour, sugar, baking powder, baking soda, salt, and cocoa powder thoroughly.
- Sifting not only smooths out clumps but aerates the flour, resulting in a lighter cake.
Mix the Wet Ingredients
In a separate bowl, whisk together the wet ingredients until you achieve a smooth consistency.
- Combine the vegetable oil, buttermilk, eggs, food coloring, and vanilla.
- Whisk well, ensuring that the colors mix beautifully and the texture is creamy.
The vibrant red hue comes from the food coloring, making your red velvet cake visually appealing and guaranteed to impress your guests.
Combine Everything into a Delicious Batter
Now, it’s time for the fun part! Gradually add the dry mixture to the wet ingredients.
- Use a rubber spatula or a wooden spoon to fold the two mixtures together.
- Be careful not to overmix; you just want them to come together until no flour streaks remain.
- Right before you finish mixing, gently fold in the vinegar; this will react with the baking soda, giving your cake a little extra lift.
Bake and Cool the Cake Layers
Preheat your oven to 350°F (175°C) and prepare your cake pans with non-stick spray or parchment paper.
- Pour the batter evenly into two prepared 9-inch round cake pans.
- Bake for about 25-30 minutes or until a toothpick inserted into the center comes out clean.
- Once baked, allow the cake layers to cool in the pans for 10 minutes before transferring them to a wire rack.
Cooling is critical! If you attempt to frost the layers too soon, you might end up with a melty mess.
Baking a red velvet cake might seem daunting at first, but with these steps and a little patience, you’ll have a masterpiece worthy of any celebration. Remember, practice makes perfect, so don’t hesitate to try again if it doesn’t turn out just right the first time! For more tips on perfect cake baking, check out Serious Eats. Happy baking!
Variations on Red Velvet Cake
Red velvet cake is a beloved treat, but did you know there are several delicious variations to suit dietary preferences? Whether you’re gluten-free, vegan, or just looking to switch things up with cupcakes, there’s a version of this classic dessert for everyone!
Gluten-Free Red Velvet Cake
For those avoiding gluten, creating a gluten-free red velvet cake is easier than ever. Substitute traditional all-purpose flour with a gluten-free blend. Brands like Bob’s Red Mill or King Arthur Flour offer excellent options that can provide the same delightful texture. Don’t forget to check for certified gluten-free cocoa powder to keep your cake safe from cross-contamination.
Red Velvet Cupcakes
If you’re in the mood for individual portions, consider making red velvet cupcakes! They’re perfect for parties or a cozy night in. The process is almost identical to the cake but adjust the baking time to around 20-25 minutes. Top them with a smooth cream cheese frosting for that signature finish. Try decorating with sprinkles or pecans to add a playful touch!
Vegan Red Velvet Options
Craving a plant-based alternative? You can easily whip up vegan red velvet cake using flaxseed meal or applesauce as egg replacements. Plant-based milk and vegan butter can also be used without sacrificing flavor. Check out resources from the Vegan Society for other handy tips on vegan baking.
These variations make it possible to enjoy red velvet cake no matter your dietary restrictions. Are you ready to get creative in the kitchen? Don’t hesitate to experiment with flavors and textures! For more tips on baking basics, consult Allrecipes or BBC Good Food for additional inspiration.
Baking Tips for Red Velvet Cake
Common Pitfalls and How to Avoid Them
Baking a perfect red velvet cake can feel a bit daunting, but with a few smart tips, you can whip up a stunning masterpiece! Here are some common pitfalls to steer clear of:
-
Too Much Food Coloring: While a vibrant red color is the hallmark of a red velvet cake, overdoing the food coloring can lead to an artificial taste. Start with a few drops and gradually add more until you achieve the desired color. Remember, the cake’s flavor is still paramount!
-
Under- or Overmixing: It’s easy to get excited while mixing, but overmixing can incorporate too much air and toughen the cake. Mix until just combined, so you maintain that perfect soft texture.
-
Incorrect Baking Time: Every oven is different! Keep an eye on your cake as it bakes. Use a toothpick to check for doneness; it should come out clean with a few crumbs.
Have you faced any challenges in your baking journey? Share your experiences, and let’s learn together! For more baking inspirations, check out Baker’s Digest for expert tips.
Serving suggestions for Red Velvet Cake
Creating the perfect red velvet cake is just the beginning! Elevating its presentation and pairing it with delightful accompaniments can truly enhance the experience. Here are some serving suggestions that will excite your taste buds:
Perfect pairings for your red velvet creation
-
Cream Cheese Frosting: A classic choice, the tangy sweetness of cream cheese frosting perfectly complements the rich flavors of red velvet. Consider adding a hint of vanilla or even a splash of almond extract for an unexpected twist!
-
Fresh Berries: Strawberries, raspberries, or blueberries can add a refreshing contrast to the cake’s sweetness. They also serve as beautiful garnishes that make your creation visually stunning.
-
Ice Cream Delights: Vanilla bean or even a scoop of butter pecan ice cream makes for a heavenly pairing. The creaminess simply magnifies the rich cake experience.
-
Savory Sides: For a balanced meal, how about serving a light salad with a drizzle of balsamic vinaigrette? This fluffy addition can help cut through the richness of the cake.
-
Hot Beverages: A warm cup of freshly brewed coffee or a spiced chai latte can provide a cozy touch when enjoying your slice of red velvet cake.
Try experimenting with these pairings, and you may find a few new favorites! For more inspiration, check out Food Network for creative serving ideas.
Recommended tools for making Red Velvet Cake
Making a delicious red velvet cake starts with the right tools. Here’s a friendly guide to help you gather those essentials and some fun gadgets for the finishing touches.
Must-have baking tools
To get your red velvet cake just right, you’ll need a few standard baking tools:
- Mixing bowls: Opt for a set of varying sizes for efficient mixing of your cake batter.
- Electric mixer: This will save time and ensure a smooth batter. If you’re feeling nostalgic, a whisk can work, but be prepared for a workout!
- Measuring cups and spoons: Accurate measurements are crucial for baking success—look for durable, easy-to-read options.
- Baking pans: Two 9-inch round pans are ideal for creating that lovely layered effect.
- Cooling rack: Proper cooling is essential; a good rack keeps your cake from becoming soggy.
For more in-depth recommendations, check out this baking tools guide.
Helpful gadgets for decoration
Once your red velvet cake is baked to perfection, it’s time to make it beautiful!
- Offset spatula: This handy tool helps spread frosting smoothly for that Instagram-worthy finish.
- Piping bags and tips: Use these for intricate designs and to add decorative touches.
- Cake turntable: A must-have for the serious decorator, it allows you to easily rotate your cake while frosting.
- Sifter: For that perfectly smooth layer of powdered sugar on top!
Don’t underestimate the power of good tools—they make the process more enjoyable and your cake even more delightful. Happy baking!
Time details for Red Velvet Cake
Preparation time
Making a luscious red velvet cake is all about balancing your time in the kitchen. You’ll want to allocate about 25 to 30 minutes for preparation. This includes gathering your ingredients and mixing up that velvety batter that everyone loves.
Baking time
Once you’ve got your batter ready, pour it into your cake pans and pop them into the oven. Baking time typically takes around 30 to 35 minutes. It’s important to keep an eye on your cakes as they bake—every oven behaves differently!
Total time
All in all, you’re looking at roughly 1 hour and 5 minutes from kitchen prep to pulling your beautiful cake out of the oven. For more tips on baking times, check out America’s Test Kitchen. With a little patience, you’ll soon have a stunning red velvet cake that tastes as good as it looks!
Nutritional Information for Red Velvet Cake
Calories per Slice
A typical slice of red velvet cake (around 1/12th of a 9-inch round cake) can contain approximately 350 to 450 calories, depending on the specific recipe and frosting used. Keeping track of your portions can help you indulge without overdoing it. If you’re looking for a lower-calorie version, consider using less sugar or substituting some of the butter with yogurt.
Key Nutrients to Consider
While indulging in red velvet cake, it’s essential to be mindful of the nutrients at play. Here are a few key points:
- Carbohydrates: This cake typically has high carbohydrate content, primarily from sugar and flour, providing a quick energy boost.
- Fats: The butter and cream cheese frosting offer tasty fat, but consider moderation due to higher calorie content.
- Protein: Not a significant source, but adding some chicken ham or turkey bacon on the side can enhance the protein content of your meal.
For more in-depth nutritional insights, you can check out sources like Healthline or the USDA FoodData Central. By keeping these factors in mind, you can enjoy your slice of red velvet cake while maintaining a balanced diet!
FAQs about Red Velvet Cake
What makes red velvet cake red?
The vibrant red hue of red velvet cake is traditionally attributed to the reaction between cocoa powder and acidic ingredients like buttermilk or vinegar. In modern recipes, many bakers enhance this color with food coloring – a simple solution that brings out that richer, eye-catching shade. If you’re looking for a natural way to achieve a similar color, consider using beet juice for a healthier twist. Curious about the chemical wonders of baking? You can explore more about this reaction here.
Can I store red velvet cake in the fridge?
Absolutely! Storing your red velvet cake in the fridge is a great way to keep it fresh. Just make sure it’s covered tightly with plastic wrap or foil to prevent it from drying out. You can keep it refrigerated for about a week. If you want to maintain its moisture even longer, consider freezing individual slices. Just wrap them well, and they can last for up to three months. Need more tips on cake storage? Check out this comprehensive guide here.
How can I make my red velvet cake even more flavorful?
To elevate the taste of your red velvet cake, try incorporating a splash of vanilla extract or even a hint of espresso powder. These ingredients can intensify the flavor and give your cake a unique twist. Additionally, don’t skimp on the cream cheese frosting—its tangy flavor is a perfect foil to the sweetness of the cake. If you’re feeling adventurous, you can also add spices like cinnamon or nutmeg for an extra layer of taste. What flavor combinations have you experimented with? Share your thoughts!
Conclusion on Red Velvet Cake
Celebrate with your homemade cake!
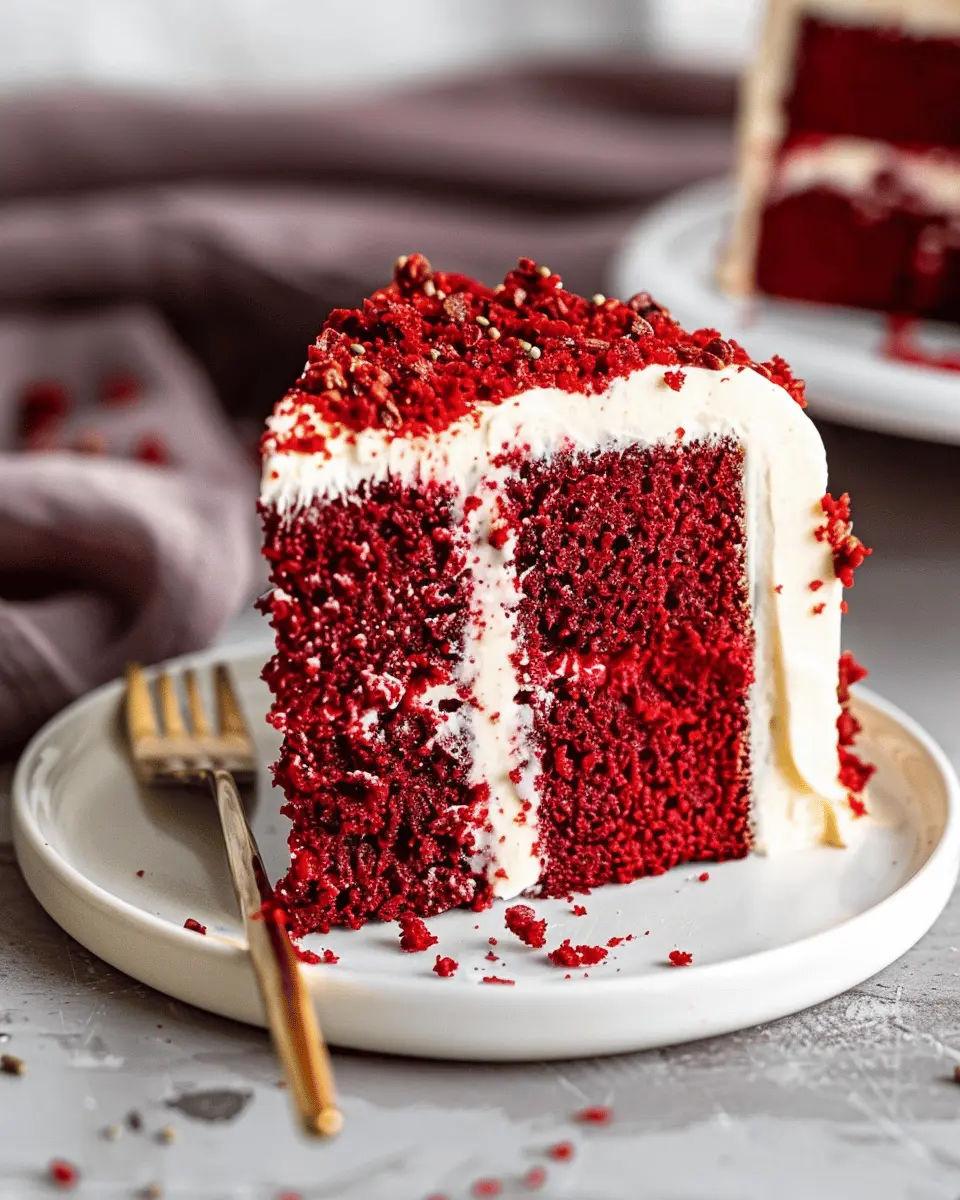
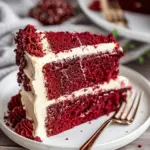
Making a red velvet cake is more than just baking; it’s about creating moments to cherish. Whether it’s for a birthday, an anniversary, or simply to satisfy your sweet tooth, this cake is a beautiful centerpiece. Not only is it visually stunning, with its rich red color contrasted by creamy white frosting, but it’s also an experience to share with loved ones.
As you whip up this delightful dessert, think about the joy it will bring to those around you. Consider adding a personal touch, like a custom message or a unique twist with your favorite flavors. Check out great decorating tips at The Spruce Eats to elevate your cake game. Remember, each slice is not just cake; it’s a celebration of flavor and connection!
PrintRed Velvet Cake Recipe: Indulge in a Decadent Delight at Home
Indulge in the rich and vibrant flavors of Red Velvet Cake with this delightful recipe. Perfect for any occasion!
- Prep Time: 20 minutes
- Cook Time: 30 minutes
- Total Time: 50 minutes
- Yield: 12 servings 1x
- Category: Dessert
- Method: Baking
- Cuisine: American
- Diet: Vegetarian
Ingredients
- 2 cups all-purpose flour
- 1 ½ cups granulated sugar
- 1 teaspoon baking soda
- 1 teaspoon salt
- 1 teaspoon cocoa powder
- 1 ½ cups vegetable oil
- 1 cup buttermilk
- 2 large eggs
- 2 tablespoons red food coloring
- 1 teaspoon vanilla extract
- 1 teaspoon white vinegar
Instructions
- Preheat the oven to 350°F (175°C). Grease and flour two 9-inch round cake pans.
- In a large bowl, sift together the flour, sugar, baking soda, salt, and cocoa powder.
- In another bowl, mix together the vegetable oil, buttermilk, eggs, red food coloring, vanilla extract, and vinegar.
- Combine the wet and dry ingredients, mixing until smooth.
- Divide the batter evenly between the prepared pans.
- Bake for 25-30 minutes or until a toothpick inserted into the center comes out clean.
- Let the cakes cool in the pans for 10 minutes, then transfer to wire racks to cool completely.
Notes
- Ensure all ingredients are at room temperature for best results.
- Decorate with cream cheese frosting for an added touch.
Nutrition
- Serving Size: 1 slice
- Calories: 350
- Sugar: 25g
- Sodium: 300mg
- Fat: 20g
- Saturated Fat: 5g
- Unsaturated Fat: 10g
- Trans Fat: 0g
- Carbohydrates: 40g
- Fiber: 1g
- Protein: 5g
- Cholesterol: 40mg
Keywords: Red Velvet Cake, cake recipe, dessert