Introduction to Milk Glass Cake
When life gets busy, dessert should never feel like a chore. Enter the milk glass cake—a delightful treat that perfectly marries simplicity with elegance. If you’re a young professional juggling work, social commitments, and maybe even a budding hobby or two, this cake shines as a beacon of ease and deliciousness.
Why is Milk Glass Cake a must-try for young professionals?
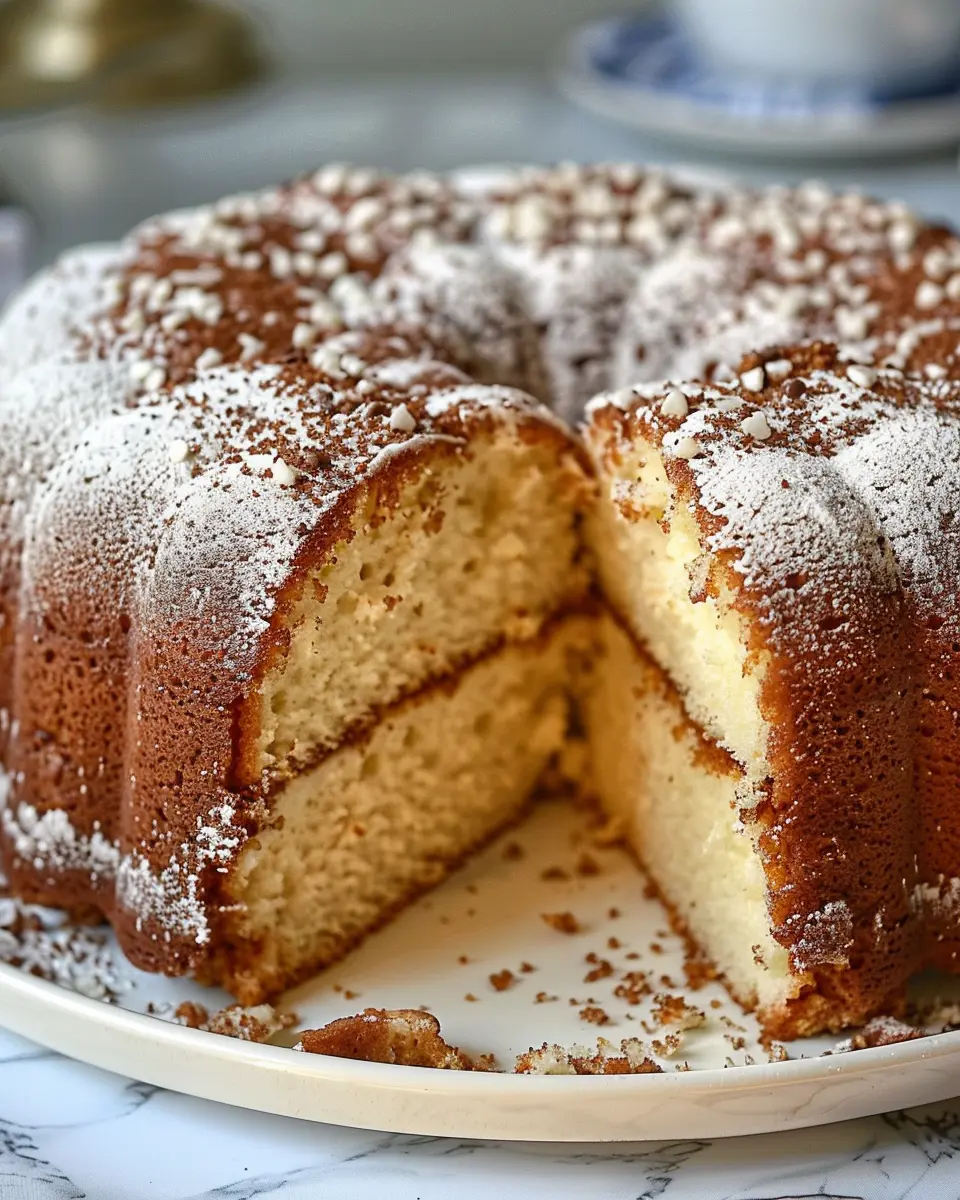
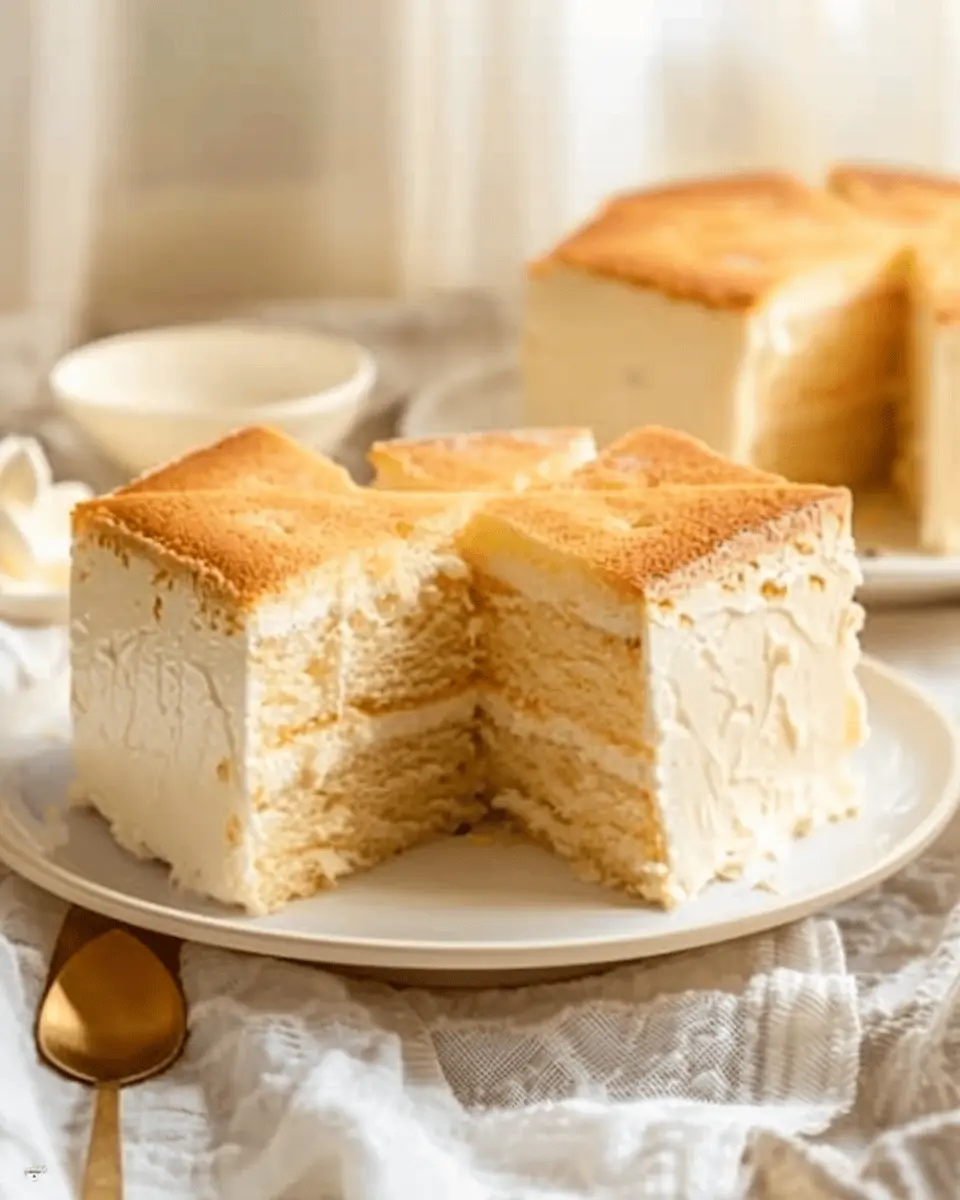
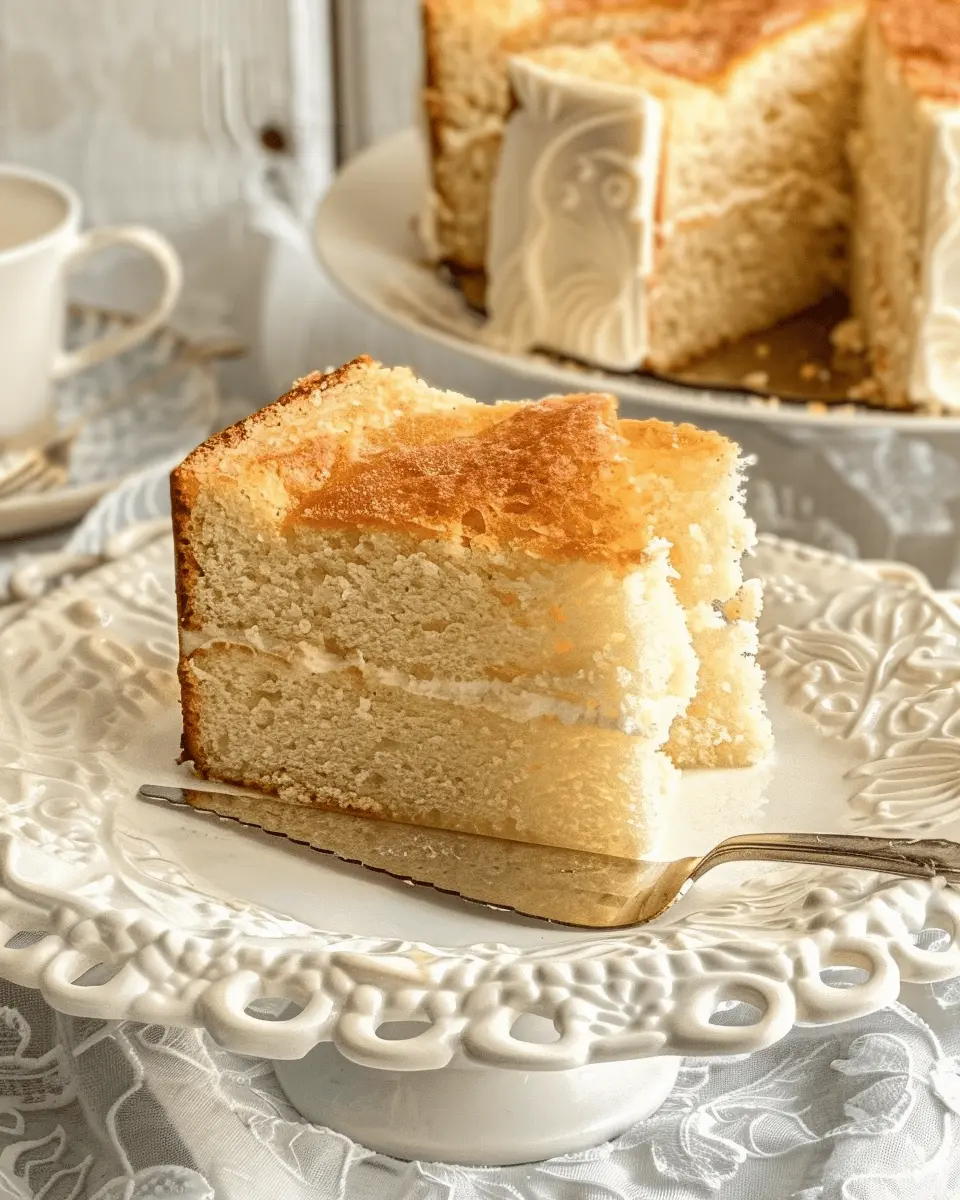
First and foremost, the milk glass cake is visually stunning. Its glossy white finish resembles vintage milk glass dishware, making it a stunning centerpiece for any gathering or simply a sweet reward after a long week. Just imagine serving this cake to friends during a casual dinner party! Not only will it impress your guests, but it also tells everyone that you put in some effort while not spending your whole weekend in the kitchen.
The ingredient list is refreshingly straightforward, making it accessible for even the busiest of schedules. With essential items like flour, sugar, and a few eggs, you probably already have the majority of what you need at home. This means fewer trips to the grocery store and more time to focus on what truly matters—enjoying life.
Additionally, milk glass cake stands out with its adaptable flavors. While the classic vanilla rendition is a crowd favorite, feel free to get creative! You can incorporate gourmet flavorings like almond, or even a zest of lemon for a refreshing twist. The flexibility allows you to customize the cake based on your taste buds or seasonality, making it a fantastic choice for any occasion.
Not only is it easy to make, but it also serves as a wonderful opportunity to build relationships over food. Picture this: you invite a couple of friends for a baking night, and together, you all whip up a batch of this delightful cake. Amid laughter and shared stories, you create lasting memories—while indulging in a slice (or two) of pure bliss.
Whether you’re celebrating a milestone or simply indulging in a cozy evening at home, the milk glass cake is your ticket to a little sweetness in everyday life. Now, let’s dive into how to make this delectable cake yourself!
For some excellent tutorials on baking basics and tips, check out resources like Taste of Home or BBC Good Food. They offer a wealth of information that can elevate your culinary skills to new heights.
Ingredients for Milk Glass Cake
Essential ingredients for a perfect Milk Glass Cake
Creating a delightful Milk Glass Cake is all about selecting the right ingredients. Here’s what you’ll need to whip up this decadent dessert that’s sure to impress friends and family:
-
Cake Base: Start with 2 cups of all-purpose flour, which gives your cake that fluffy texture. Don’t forget to add 1 and ½ cups of granulated sugar, as it balances the cake’s flavor beautifully.
-
Dairy Goodness: You’ll need 1 cup of milk and ½ cup of unsalted butter, both at room temperature for a creamy and moist cake.
-
Eggs: Three large eggs will help bind everything together. For an added touch of richness, consider using farm-fresh eggs—they can make a noticeable difference.
-
Baking Essentials: Don’t skimp on 2 teaspoons of baking powder and a pinch of salt to make sure your cake rises perfectly.
-
Vanilla Extract: For that extra flavor kick, 1 teaspoon of pure vanilla extract will bring everything together harmoniously.
Gather these ingredients, and your Milk Glass Cake will be on its way to becoming a family favorite. For tips on how to source high-quality ingredients, check out this guide from The Spruce Eats. Happy baking!
Step-by-step Preparation of Milk Glass Cake
Let’s dive into the delightful world of baking with our milk glass cake! This cake is not only visually stunning but also deliciously rich. Whether you’re preparing for a special occasion or just want to treat yourself, follow this guide for a flawless baking experience.
Gather your ingredients and tools
Before you start baking, it’s crucial to have everything you need at your fingertips. Here’s what you’ll require:
Ingredients:
- 1 ½ cups of all-purpose flour
- 1 cup of sugar
- ½ cup of unsalted butter (softened)
- 2 large eggs
- ½ cup of milk
- 1 ½ teaspoons of baking powder
- ½ teaspoon of vanilla extract
- A pinch of salt
Tools:
- Mixing bowls
- Electric mixer or whisk
- Measuring cups and spoons
- Rubber spatula
- 9-inch round cake pans
- Parchment paper
Having everything prepped and ready not only streamlines the baking process but also makes it more enjoyable. Have you ever found yourself halfway through a recipe only to realize you need a key ingredient? Avoid that today!
Create the cake batter
Now that you have all your ingredients, it’s time to mix them into a beautiful batter for your milk glass cake. Start by preheating your oven to 350°F (175°C). In a large mixing bowl, beat the softened butter and sugar together until it’s light and fluffy. This step is crucial for a moist cake, as introducing air into the mixture helps create that lovely texture.
Next, add in the eggs one at a time, mixing well after each addition. Don’t forget to scrape down the sides of the bowl to incorporate all ingredients evenly.
In another bowl, whisk together the flour, baking powder, and salt. Gradually add this dry mixture to the butter and sugar blend, alternating it with milk. Stir in the vanilla extract for a fragrant touch. Don’t overmix; just blend until everything is combined. Your batter should be smooth and creamy—just the way we like it!
Bake the Milk Glass Cake to perfection
Once the batter is ready, it’s time to prep your pans. Line the bottom of your cake pans with parchment paper and lightly grease the sides. This helps ensure your cake doesn’t stick, allowing for beautiful layers.
Divide the batter equally between the prepared pans and gently tap them on the counter to release any air bubbles. Place them in your preheated oven and bake for about 25-30 minutes or until a toothpick inserted into the center comes out clean. The rich, buttery aroma will fill your kitchen, making it hard to resist sneaking a taste!
Cooling the cake
After your cake is baked to golden perfection, remove them from the oven and let them cool in the pans for about 10-15 minutes. This cooling time allows the cake to firm up, making it easier to remove from the pans. Transfer the cake layers onto a wire rack to cool completely. Patience is key here—resist the urge to frost while the cake is still warm, as this can lead to messy results.
Optional: Frosting and decorating
Once your cake layers are completely cool, it’s time to get creative! You can frost your milk glass cake with a simple buttercream, cream cheese frosting, or even a lighter whipped cream for a fresh touch.
To make a classic buttercream:
- Beat together 1 cup of softened butter, 4 cups of powdered sugar, 2 tablespoons of milk, and a teaspoon of vanilla extract until fluffy.
Decorating tips:
- Spread a layer of frosting between the two layers and coat the top and sides.
- Add sprinkles, fresh fruit, or edible flowers for an added pop of color.
The final touch will not only enhance the flavor but also make your milk glass cake visually stunning!
And there you have it—a step-by-step guide to preparing a delicious milk glass cake! Whether it’s for a festive occasion or a simple gathering, this cake is sure to impress. Happy baking!
Variations of Milk Glass Cake
Chocolate Milk Glass Cake
If you’re a chocolate lover, why not take your beloved milk glass cake to the next decadent level? By adding rich cocoa powder to the cake batter, you can create a lush, chocolatey base that pairs beautifully with the traditional milk glass frosting.
- Ingredients to Modify:
- Replace part of the all-purpose flour with unsweetened cocoa powder (about 1/3 cup is a great start).
- Consider folding in chocolate chips for an indulgent twist.
This version tends to be dense and fudgy, making it perfect for satisfying any chocolate cravings. To balance the sweetness, you might try a sprinkle of flaky sea salt on top, which will elevate the flavors and provide that perfect contrast.
Fruit-infused Milk Glass Cake
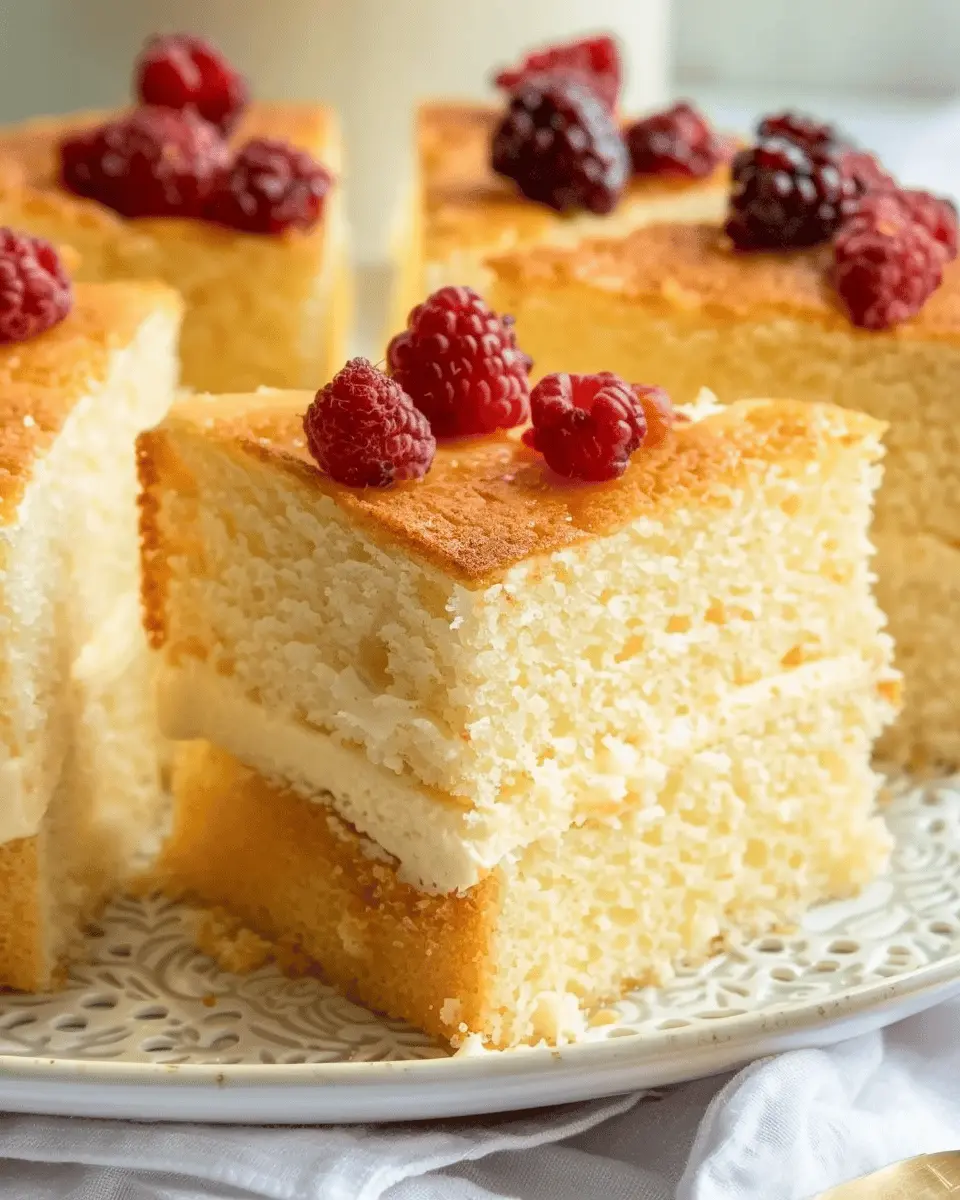
For those warmer months or if you’re looking to add a fresh twist, a fruit-infused milk glass cake can be a showstopper at any gathering. Whether you prefer strawberries, blueberries, or even citrus, incorporating fresh fruit can add both flavor and a pop of color to your dessert.
- Ideas to Consider:
- Use pureed fruit, such as mashed bananas or applesauce, in your batter to keep it moist while introducing vibrant flavors.
- Top your finished cake with a fruit glaze by mixing your favorite fruit jam with a bit of lemon juice. This not only enhances the taste but makes for a beautiful presentation.
Want a flavor-packed recommendation? Check out this fruit cake recipe for inspiration. Remember, the beauty of the milk glass cake lies in its versatility, so don’t hesitate to experiment with different flavors and textures that reflect your personality!
Cooking Tips and Notes for Milk Glass Cake
Common pitfalls and how to avoid them
Making a stunning milk glass cake can be a delightful experience, but a few hiccups can catch even the most seasoned bakers off guard. Here are some common pitfalls and how to sidestep them:
-
Overmixing the Batter: It can be tempting to mix until everything is perfectly smooth; however, this can lead to a dense cake. Mix just until ingredients are combined for that beautiful, light texture.
-
Incorrect Oven Temperature: While it’s easy to trust your oven’s settings, using an oven thermometer ensures accuracy. A temperature that’s too high can cause the edges to cook too quickly.
-
Frosting Consistency: If your frosting is too thick, it might be difficult to spread. Adding a splash of milk or cream can help achieve the perfect consistency, while a little extra sugar can thicken it if too runny.
-
Chilling Time: Allow your layers to cool completely before frosting. This prevents the frosting from melting and sliding off, ensuring a beautiful finish.
In short, pay attention to mixing, temperature, frosting texture, and cooling time. These thoughtful adjustments can elevate your milk glass cake to bakery-level perfection! For more baking insights, check out this guide on cake baking basics for expert tips.
Don’t shy away from experimenting with flavors or decorations—each milk glass cake can tell a different story. Happy baking!
Serving Suggestions for Milk Glass Cake
How to serve and pair your Milk Glass Cake
When it’s time to enjoy your delightful milk glass cake, the way you serve it can really elevate the experience. Here are some tips to ensure you make the most of this beautiful treat:
-
Presentation Matters: Slice your cake with a sharp knife for clean edges. Place a slice on a decorative plate to showcase its layers and frosting. A dusting of powdered sugar or a drizzle of chocolate syrup can add visual appeal.
-
Complimentary Flavors: Pair your milk glass cake with fresh berries like strawberries, blueberries, or raspberries. Their tartness beautifully balances the sweetness of the cake. Alternatively, serve it with a scoop of vanilla ice cream or a dollop of whipped cream for a classic touch.
-
Beverage Pairing: To complement your cake, consider serving it with herbal tea or strong coffee. The flavors will enhance the cake’s creamy texture without overwhelming it.
For more creative serving ideas, check out this article on dessert pairings. This can inspire you to find the perfect match for your milk glass cake at your next gathering!
Time Breakdown for Milk Glass Cake
Preparation Time
Getting ready to make your milk glass cake is part of the fun! You’ll want to set aside about 20-30 minutes for gathering ingredients and prepping your baking pans. This is the perfect time to play some music or podcast in the background—after all, cooking can be as much about the experience as it is about the end result.
Baking Time
Once your cake is in the oven, it’ll need about 25-30 minutes to bake. You’ll want to keep an eye on it, checking for that lovely golden color and using the toothpick test to ensure it’s cooked through. Just remember to resist the temptation to open the oven door too often, as this could alter the baking times!
Total Time
In total, you’re looking at around 50-70 minutes from start to finish for your milk glass cake. With minimal cleanup afterward, you can spend more time celebrating your creation or enjoying it with friends and family.
For more baking tips, check out Food Network for expert advice and inspiration. Happy baking!
Nutritional Facts for Milk Glass Cake
When indulging in a delightful milk glass cake, it’s wise to be aware of its nutritional profile. Here’s a quick breakdown to help you enjoy this treat guilt-free.
Calories
A standard slice of milk glass cake typically contains around 300 calories. This can vary based on portion size and specific ingredients, so keep an eye on those generous servings!
Sugar Content
With about 18 grams of sugar per slice, the sweetness of this cake can be quite tempting. If you’re watching your sugar intake, consider pairing it with fresh fruits for a refreshing complement.
Protein
Each slice provides approximately 4 grams of protein, making it a richer option for dessert. Adding some Greek yogurt on the side can boost your protein intake even further!
For more insights into the nutritional benefits of various cakes, check out this resource on healthy desserts for ideas on how to enjoy sweets without straying too far from your health goals. Balancing treats like the milk glass cake with nutritious options can satisfy your cravings while keeping your diet in check.
FAQs about Milk Glass Cake
Can I make Milk Glass Cake in advance?
Absolutely! Making Milk Glass Cake in advance can save you time, and it allows the flavors to meld beautifully. You can bake the cake layers a day ahead and store them tightly wrapped in plastic wrap at room temperature. If you’re looking to prep even further ahead, consider freezing the layers. Just be sure to let them thaw completely before frosting. Pro tip: make your frosting a day ahead too! It can also be stored in the fridge, just re-whip it before decorating for that perfect texture.
What are some popular frosting options?
When it comes to frosting your delightful Milk Glass Cake, the possibilities are endless! Here are a few popular choices that can elevate your cake:
- Cream Cheese Frosting: Its tangy sweetness pairs wonderfully with the rich cake.
- Buttercream Frosting: Classic and versatile; you can flavor it with vanilla, chocolate, or even a splash of almond extract.
- Whipped Cream: For a lighter touch, fresh whipped cream adds airiness and balances the cake’s density.
- Ganache: Drizzling a smooth chocolate ganache on top can add elegance and richness.
Feel free to experiment to find your perfect match!
How can I store leftover Milk Glass Cake?
To keep your Milk Glass Cake fresh, store it in an airtight container at room temperature if consumed within a day or two. If you have a larger portion left, you can refrigerate it, but make sure to wrap it well to prevent drying out. For longer storage, consider freezing the cake slices—just make sure to wrap them tightly in plastic wrap before boxing them up for the freezer. You can conveniently reheat them in the microwave for a few seconds or let them thaw at room temperature for a delicious treat that feels freshly baked.
For more tips on cake preservation, check out sources like Taste of Home and Food Network.
Conclusion on Milk Glass Cake
Why you’ll love making Milk Glass Cake at home
Creating a milk glass cake is more than just following a recipe—it’s about bringing joy to your kitchen and dappled light to your gatherings. Imagine pulling a stunning cake from the oven, its glossy finish reflecting your hard work and creativity. The appeal of this cake lies in its unique presentation and delightful flavor, combining a moist texture with a striking visual.
You’ll love how versatile it is, allowing for different flavor variations—from classic vanilla to rich chocolate. Whether you’re celebrating a birthday or indulging in a weekend treat, this cake promises to impress. Plus, sharing a slice with friends or family fosters connection, creating memories that may last longer than the cake itself.
For expert tips on cake-making, check out Joy of Baking or delve into the world of intricate desserts at Bigger Bolder Baking. Happy baking!
PrintMilk Glass Cake: The Best Indulgent Treat for Homemade Lovers
Indulge in the ultimate treat with this delicious Milk Glass Cake, perfect for homemade lovers.
- Prep Time: 20 minutes
- Cook Time: 35 minutes
- Total Time: 55 minutes
- Yield: 8 servings 1x
- Category: Dessert
- Method: baking
- Cuisine: American
- Diet: vegetarian
Ingredients
- 2 cups all-purpose flour
- 1 1/2 cups granulated sugar
- 1 cup unsalted butter, softened
- 4 large eggs
- 1 cup whole milk
- 2 teaspoons baking powder
- 1 teaspoon vanilla extract
Instructions
- Preheat the oven to 350°F (175°C).
- In a large bowl, cream together the butter and sugar until light and fluffy.
- Add eggs one at a time, beating well after each addition.
- Mix in the vanilla extract.
- In another bowl, combine the flour and baking powder.
- Gradually add the flour mixture to the creamed mixture, alternating with the milk.
- Pour the batter into a greased cake pan.
- Bake for 30-35 minutes or until a toothpick inserted into the center comes out clean.
- Let cool before frosting.
Notes
- Ensure all ingredients are at room temperature for best results.
- Top with your favorite frosting for added flavor.
Nutrition
- Serving Size: 1 slice
- Calories: 350
- Sugar: 20g
- Sodium: 200mg
- Fat: 15g
- Saturated Fat: 10g
- Unsaturated Fat: 3g
- Trans Fat: 0g
- Carbohydrates: 45g
- Fiber: 1g
- Protein: 4g
- Cholesterol: 80mg
Keywords: Milk Glass Cake, Indulgent Treat, Homemade Cakes