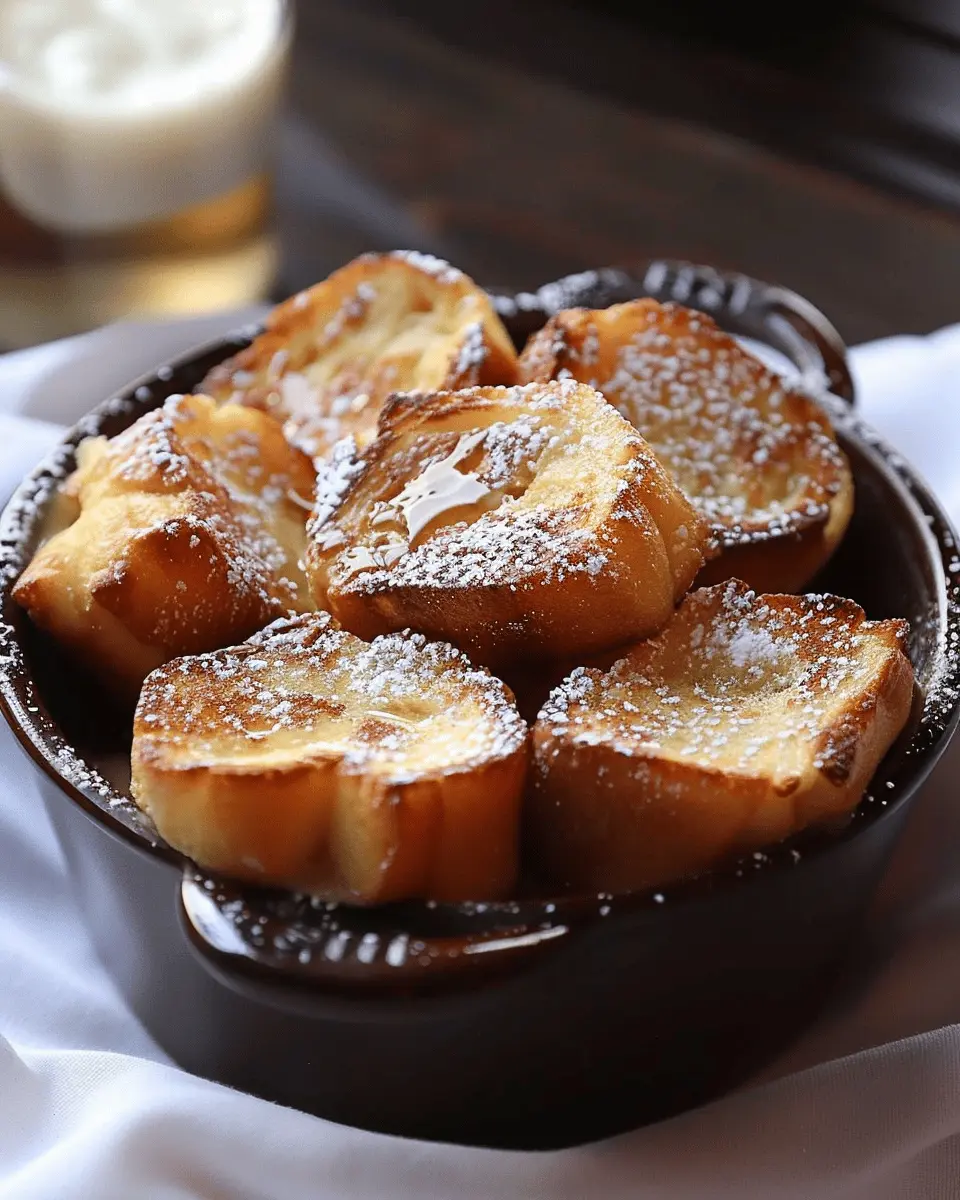
Introduction to Dutch Oven French Toast
Mornings can often feel like a race against time, especially for busy young professionals trying to juggle work, social life, and self-care. If you’re looking for a dish that combines ease and comfort in the morning, Dutch Oven French Toast is your answer. This delightful treat not only fills your home with a warm, inviting aroma but also allows you to prepare breakfast for a crowd without breaking a sweat. Plus, it’s coming to you with a twist—a newfound method that reinvents your classic breakfast favorite.
Why Dutch Oven French Toast is a game-changer for busy young professionals?
Imagine this: you wake up on a Sunday morning, knowing you have friends coming over for brunch. The last thing you want is to spend the entire morning flipping individual pieces of toast. Enter the Dutch oven. This versatile cooking tool lets you whip up a generous portion of French toast in one go, appealing perfectly to both your culinary skills and your time management needs.
-
Batch Cooking: Instead of spending time at the stovetop, with the Dutch oven, you can prepare a full batch that satisfies everyone. This means more time to relax and enjoy the company of your friends.
-
Easy Cleanup: Fewer pans mean less scrubbing later. The Dutch oven is easy to clean, allowing you to enjoy that second cup of coffee (or tea) in peace.
-
Great for Meal Prep: If you’re planning your week ahead, Dutch Oven French Toast is an excellent option. You can refrigerate leftovers and reheat them in the morning for a quick, hearty breakfast.
Not only is this dish a crowd-pleaser, but it’s also flexible. You can add in seasonal fruits, nuts, or even a drizzle of maple syrup to elevate the flavor profile. If you’re looking for toppings, the possibilities are endless—pair it with turkey bacon, chicken ham, or fresh berries for a balanced meal.
By investing a little time in preparing this delightful recipe, you’re ultimately saving hours during the week and ensuring that you kickstart your mornings with a satisfying meal. So why not embrace the Dutch Oven French Toast revolution? You might just find it transforms your approach to weekday breakfasts too!
For more tips and tricks on quick meal prep, you can check out resources like EatingWell or Bon Appétit.
Ingredients for Dutch Oven French Toast
Preparing a scrumptious Dutch Oven French Toast is all about using the right ingredients. The combination of flavors and textures in this dish will elevate your brunch game and make everyone at the table wonder how you made it. Let’s dive into what you’ll need!
Essential Ingredients
- Bread: Choose a thick-style bread like brioche or challah. These options soak up the custard beautifully, adding a rich, buttery flavor.
- Eggs: About 6 large eggs will give you that classic French toast custard texture.
- Milk: Whole milk works wonders, but if you’re looking for a lighter option, you can opt for almond or oat milk.
- Sweetener: Whether you go for sugar, maple syrup, or honey, add about 1/4 cup to sweeten your batter.
- Vanilla Extract: This is a must for that aromatic essence; 1 teaspoon will do.
- Cinnamon: Ground cinnamon adds warmth; about 1 teaspoon is ideal.
- Butter: You’ll want some for greasing the Dutch oven and for that extra rich flavor.
- Turkey Bacon or Chicken Ham: For a savory twist on your sweet dish, layer in some turkey bacon or chicken ham for added protein.
These ingredients come together to create a warm and comforting Dutch Oven French Toast. For more inspiration on breakfast staples, check out the benefits of brunch. Happy cooking!
Preparing Dutch Oven French Toast
Creating delightful Dutch oven French toast can be a game-changer for your brunch gatherings or a cozy weekend treat. This dish brings everyone together, filling the home with the scent of vanilla and cinnamon. Let’s dive into the preparation!
Gather Your Ingredients
Before diving into the cooking process, it’s essential to gather all your ingredients. Having everything at your fingertips creates a seamless cooking experience. For this recipe, you’ll need:
- Bread: Day-old or thick-cut bread works best. Brioche or challah is highly recommended for its rich flavor.
- Eggs: Fresh, large eggs are the star of the custard mixture.
- Milk: Using whole milk or a bit of cream yields a richer result, but feel free to use almond or oat milk for a dairy-free option.
- Vanilla extract: Adds depth and a lovely aroma.
- Cinnamon: A must-have spice that complements the sweetness wonderfully.
- Nutmeg: Just a pinch can heighten the flavors.
- Butter: For greasing the Dutch oven.
- Toppings: Fresh fruits, maple syrup, or even some turkey bacon or chicken ham for those who crave a savory balance.
If you want to enhance the flavor even more, consider adding a dash of orange zest or a handful of chocolate chips!
Prepare the Dutch Oven
Now, let’s set up your trusty Dutch oven. Preheat your oven to 350°F (175°C). This is the perfect temperature to ensure even baking. Lightly grease the interior of your Dutch oven with butter to prevent sticking.
For some extra flavor, you can also sprinkle a little cinnamon and sugar in the bottom before placing the bread. This creates a sweet base that caramelizes beautifully during baking and OH, the aroma that fills your kitchen!
Layer the Bread and Toppings
Once your Dutch oven is prepped, it’s time to layer your bread. Begin by cutting your bread into thick slices—about one inch will do. Place a layer of the bread slices at the bottom of the Dutch oven, slightly overlapping if needed.
Then comes the fun part: adding your favorite toppings. Sprinkle berries, sliced bananas, or even nuts between the layers. If you are feeling adventurous, mix in some turkey bacon or chicken ham for a savory twist, balancing those sweet notes.
Repeat the layering process until you’ve used all your bread, keeping in mind the aesthetic appeal—you want it to look as good as it tastes!
Mix the Custard
In a separate bowl, whisk together your eggs, milk, vanilla extract, cinnamon, and nutmeg. Make sure everything is thoroughly combined. You want a smooth custard that will soak into every nook and cranny of your bread.
For an extra touch of sweetness, consider adding a couple of tablespoons of sugar or even a drizzle of honey to your custard mixture. Did you know that a little bit of sugar can enhance flavor compounds in both eggs and vanilla, making your Dutch oven French toast irresistible?
Refrigerate Before Baking
Once your custard is mixed, pour it evenly over the layered bread in your Dutch oven. Allow the mixture to soak for at least 30 minutes. This step ensures the bread absorbs all that delightful custard goodness. If you have time, covering the Dutch oven with plastic wrap and letting it sit in the fridge for a couple of hours (or even overnight) works wonders.
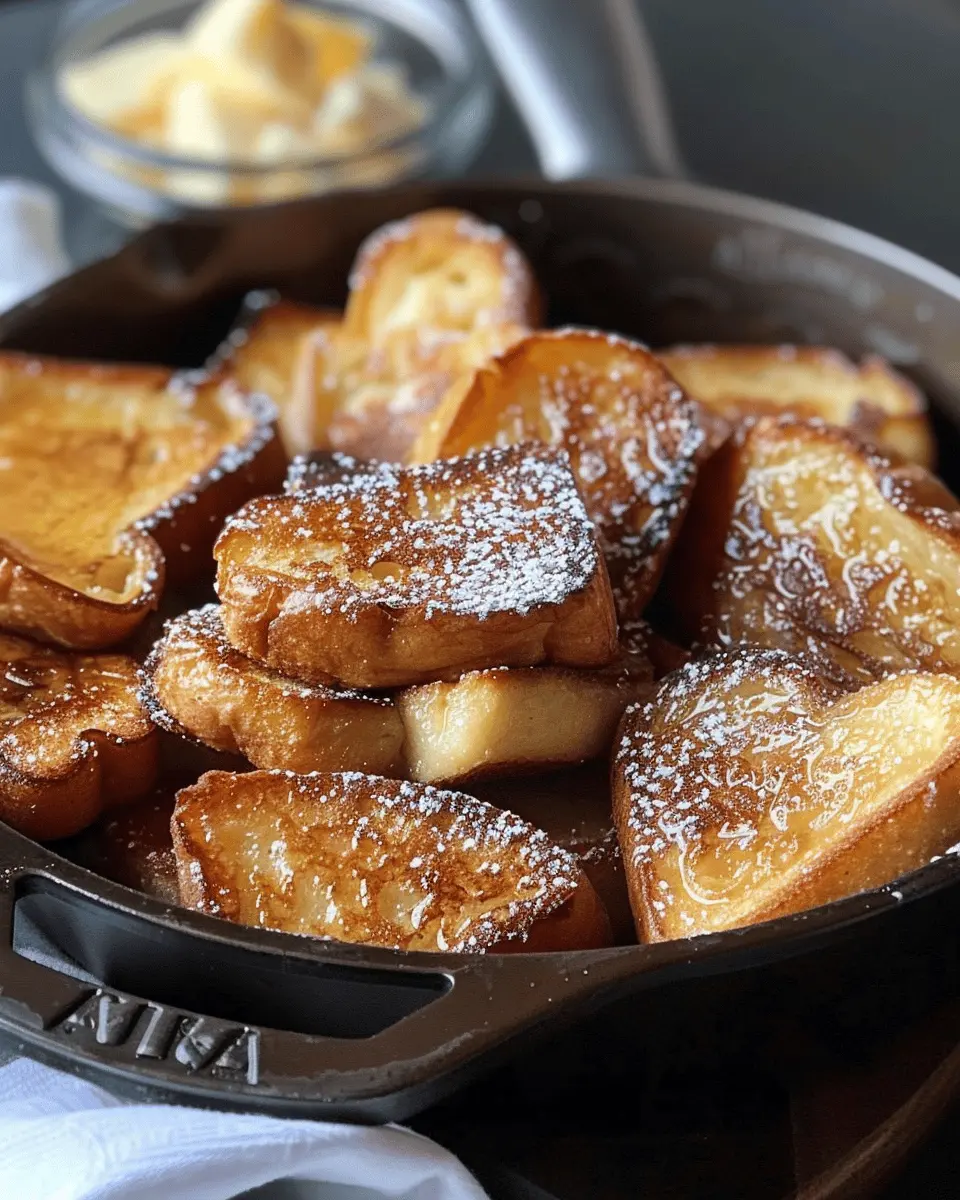
Bake to Perfection
After the waiting period, it’s time to bake! Place your Dutch oven in the preheated oven and bake for about 30-40 minutes. You’ll know it’s done when the edges are golden brown and puffed up deliciously. A reliable tip is to insert a knife in the center—if it comes out clean, you’re all set!
Serve your Dutch oven French toast warm, drizzled with maple syrup and topped with fresh fruit for a stunning presentation.
With this guide, you’ll go from prep to plate effortlessly, impressing your guests with a dish that’s as scrumptious as it is simple. Happy cooking!
Variations on Dutch Oven French Toast
When it comes to Dutch oven French toast, the sky’s the limit! Here are two delicious variations that will make your brunch stand out.
Nutty French Toast with Almonds
For a delightful crunch, try adding almonds to your Dutch oven French toast. Here’s how:
- Ingredients to Add: Use sliced almonds or almond butter for that nutty flavor.
- Preparation: Mix the sliced almonds into your custard blend. Alternatively, sprinkle them on top before baking for a lovely golden finish.
Not only do almonds bring a rich taste, but they also pack a healthy punch. According to the Almond Board of California, almonds are rich in vitamin E and magnesium, making your breakfast nutritious as well as delicious. Imagine savoring warm, buttery French toast while knowing you’ve fueled your body!
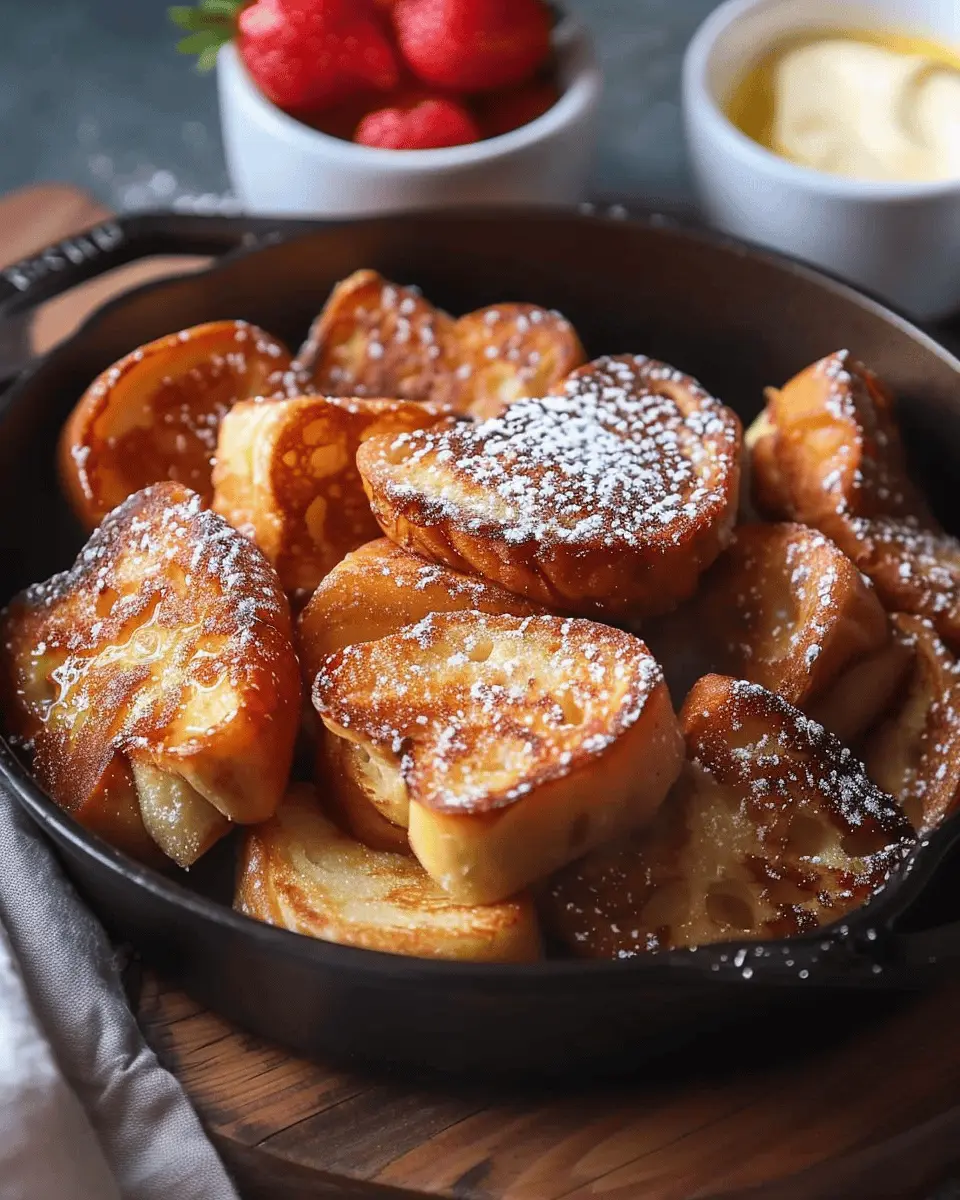
Fruit-Infused French Toast with Berries
If you’re a fan of fruity flavors, this variation is for you! Berries can transform your Dutch oven French toast into a light, refreshing experience.
- Choose Your Berries: Strawberries, blueberries, raspberries, or a mix will work beautifully.
- How to Incorporate Them: Toss fresh or frozen berries into the custard mixture. You can also layer them within the bread and custard for extra sweetness.
Berries are not just tasty; they are known for their antioxidant-rich profiles. A study published by the USDA National Nutrient Database highlights their benefits in promoting overall health. Just picture that burst of fruity flavor with every bite of your Dutch oven French toast—yum!
So, the next time you whip up this brunch classic, consider these variations to add a unique twist that your friends and family will love!
Cooking Tips for Dutch Oven French Toast
Creating the perfect Dutch oven French toast is simpler than you might think! Here are some helpful tips to elevate your breakfast game:
Choose the Right Bread
Using the right bread can make all the difference. Opt for thicker slices like challah or brioche, which soak up the custard beautifully without falling apart. If you have leftover bread, this is the perfect chance to use it!
Customize Your Flavors
Add your favorite spices to the mixture. Ground cinnamon and nutmeg are classics, but don’t shy away from experimenting with vanilla extract or even orange zest for a citrusy twist.
Layer for Texture
When assembling your Dutch oven French toast, consider layering in toppings like fresh fruits or nuts between the slices. Not only does this add texture, but it also creates delicious pockets of flavor.
Monitor Cooking Time
Keep an eye on the cooking time. Typically, the Dutch oven French toast should be golden brown around the edges. Don’t forget to check the center with a toothpick; it should come out clean when properly baked.
Explore more about preparing hearty breakfasts with insights from America’s Test Kitchen for additional tips and techniques!
Happy cooking!
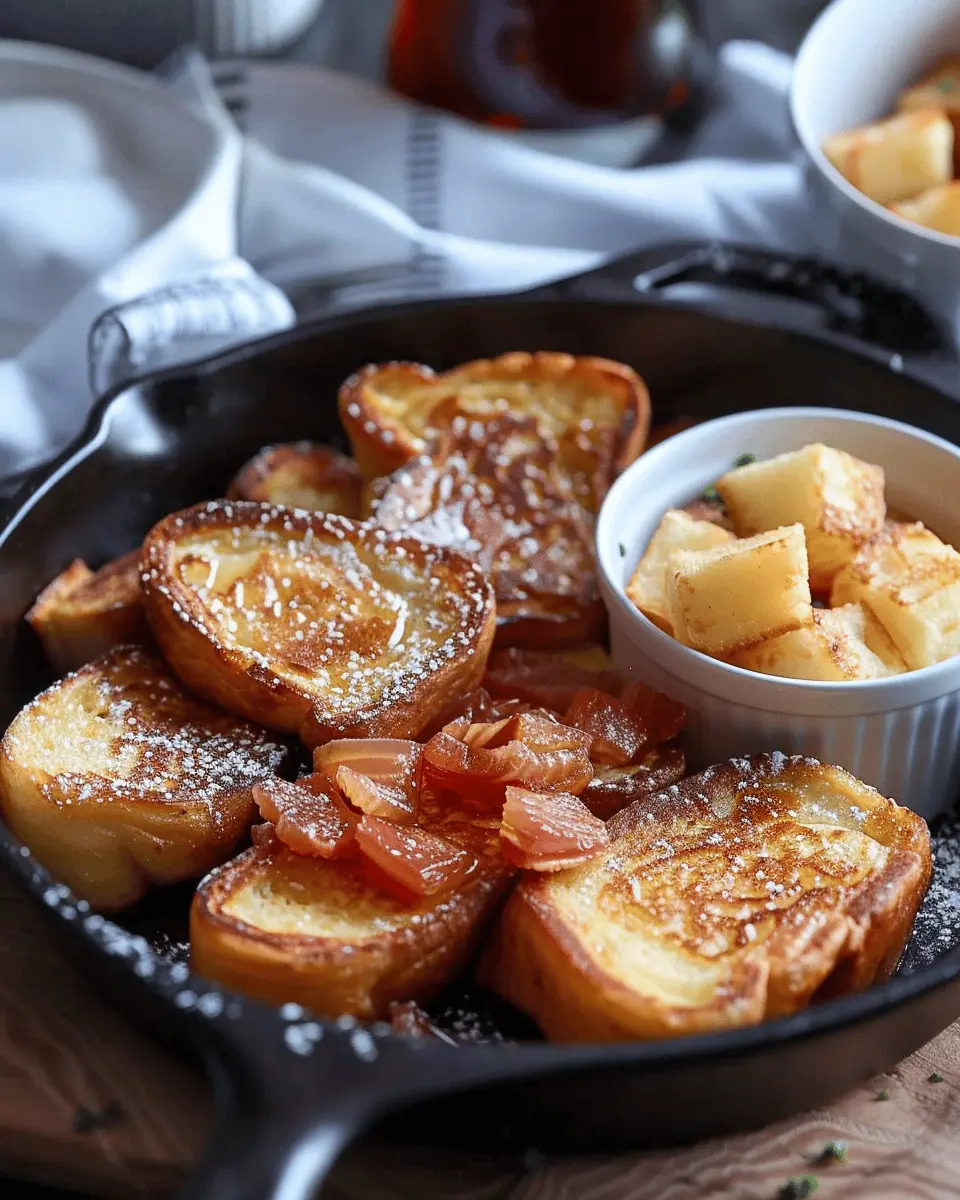
Serving Suggestions for Dutch Oven French Toast
When it comes to enjoying your Dutch Oven French Toast, the possibilities for pairing are endless. Whether you’re hosting a brunch or enjoying a cozy breakfast at home, these serving suggestions will add that extra flair to your meal.
Toppings Galore
Get creative with toppings! Here are some fantastic ideas:
- Fresh Fruits: Sliced strawberries, bananas, or blueberries can add a burst of flavor and color. Not to mention, they add natural sweetness.
- Yogurt: A dollop of Greek yogurt can enhance the creaminess and introduce a tangy contrast.
- Nut Butter: Try almond or peanut butter for a protein-packed twist. This is especially great if you’re looking for a more filling option.
Ideal Side Dishes
To elevate your breakfast to the next level, consider these delicious sides:
- Turkey Bacon: Crispy turkey bacon provides a savory balance to the sweetness of your Dutch Oven French Toast.
- Chicken Ham: This is a leaner meat option that offers a wonderful complement to your fluffy toast.
- Fresh Salad: A light mixed greens salad with a vinaigrette can offset the richness and is perfect for brunch gatherings.
Drink Pairings
Opt for refreshing beverages to wash everything down. Think freshly squeezed orange juice or a smooth iced coffee. These options not only refresh but also enhance the brunch vibe.
Feel free to mix and match these ideas to suit your taste! By thoughtfully serving your Dutch Oven French Toast, you’ll create a memorable meal that leaves everyone raving. For more tips on perfect pairings, check out Food & Wine’s guide on brunch ideas.
Time Breakdown for Dutch Oven French Toast
Preparation Time
Getting started on your Dutch oven French toast is a breeze! You’ll want to allocate about 15 minutes for gathering your ingredients and putting everything together. This includes whisking the egg mixture, slicing the bread, and arranging it perfectly in your Dutch oven. If you’re like me and enjoy a bit of music in the kitchen, this is the perfect time to play your favorite tune while you prepare.
Refrigeration Time
Once prepped, let your dish chill in the refrigerator for at least 2 hours. This step is crucial as it allows the flavors to meld and the bread to soak up that creamy goodness. If you’re meal prepping for brunch, consider leaving it overnight—a perfect excuse for an easy morning!
Baking Time
Finally, the baking stage will take about 40-45 minutes. Preheat your oven to 375°F, and while it bakes, the delightful aroma will fill your home, making everyone eager to dig in. Your Dutch oven French toast will be golden brown and delicious by the time it’s ready to serve, making it a fantastic centerpiece for any meal or gathering.
Curious about how long other brunch classics take? Check out this helpful guide for time-saving tips on popular recipes!
Nutritional Facts for Dutch Oven French Toast
When it comes to enjoying a cozy brunch, Dutch Oven French Toast stands out not just for its delicious flavor but also for its interesting nutritional profile. Here’s a quick glance at what you’ll find in this delightful dish.
Calories
A serving of Dutch Oven French Toast typically contains around 300-400 calories, depending on the ingredients you choose. Opting for whole-grain bread can also help keep those calories in check while adding some extra nutrients.
Protein
Each serving provides about 10-15 grams of protein. If you’d like to boost the protein content, consider adding a sprinkle of nuts or seeds on top or serving it alongside some lean options like turkey bacon or chicken ham.
Sugar Content
You might be surprised to learn that sugar content can vary widely based on your chosen toppings. On average, expect around 10-15 grams of sugar per serving, primarily from syrup and any added fruits. For a healthier twist, try using fresh berries or a sugar-free syrup.
For more detailed nutritional insights, check resources like the USDA’s food database here and explore how you can tailor this dish to fit your dietary preferences!
FAQs about Dutch Oven French Toast
Can I make French toast ahead of time?
Absolutely! Making Dutch Oven French Toast ahead of time can be a real game-changer for busy mornings. You can prepare the custard mixture the night before, then simply pour it over the bread in the morning and bake as directed. This allows the bread to soak up all that delicious eggy goodness, making it even more flavorful. Additionally, leftovers can be stored in the fridge for a quick reheating option.
What type of bread works best for French toast?
When it comes to the perfect Dutch Oven French Toast, choosing the right bread is crucial. Here are some great options:
- Challah: Soft and sweet, perfect for soaking.
- Brioche: Rich flavor and fluffy texture make it a favorite.
- Sourdough: For a tangy twist, this adds a unique kick.
- Texas Toast: Thick slices that hold up well to the custard.
You want bread that’s a bit stale or dry, as it soaks up the custard without falling apart.
Can I freeze Dutch Oven French Toast?
Yes, you can definitely freeze your Dutch Oven French Toast! After baking, allow it to cool completely, then cut it into individual portions. Wrap each piece tightly in plastic wrap and place them in a freezer-safe container. When you’re ready to enjoy some, simply take it out, thaw in the fridge, and reheat in the oven or microwave. This makes for a fantastic grab-and-go breakfast option!
For more tips and recipe variations, check out this resource on bread choices for French toast. Enjoy your cooking adventure!
Conclusion on Dutch Oven French Toast
In closing, Dutch oven French toast is not just a meal; it’s a memorable experience that brings people together. Its simple prep allows you to savor quality moments with friends and family while the delightful aroma fills your home. By using hearty bread and pairing it with delicious toppings like fresh berries or maple syrup, you can elevate this dish to new heights. Whether it’s for a leisurely brunch or a cozy dinner, Dutch oven French toast is versatile and satisfying. Check out websites like Taste of Home or Serious Eats for additional cooking tips and variations. Happy cooking!
PrintDutch Oven French Toast: The Best Comfort Food for Breakfast

Dutch Oven French Toast is the ultimate comfort food for breakfast, providing both flavor and convenience.
- Prep Time: 15 minutes
- Cook Time: 30 minutes
- Total Time: 45 minutes
- Yield: 4 servings 1x
- Category: Breakfast
- Method: Baking
- Cuisine: American
- Diet: Vegetarian
Ingredients
- 8 slices of bread
- 4 large eggs
- 1 cup milk
- 1 teaspoon vanilla extract
- 1 teaspoon ground cinnamon
- 1 tablespoon sugar
Instructions
- Preheat your Dutch oven.
- In a large bowl, whisk together the eggs, milk, vanilla, cinnamon, and sugar.
- Soak the bread slices in the mixture for a few minutes.
- Place the soaked bread in the Dutch oven and cook until golden brown.
Notes
- For a sweeter touch, drizzle with maple syrup before serving.
- Use stale bread for better absorption of the egg mixture.
Nutrition
- Serving Size: 1 slice
- Calories: 250
- Sugar: 6g
- Sodium: 300mg
- Fat: 10g
- Saturated Fat: 3g
- Unsaturated Fat: 6g
- Trans Fat: 0g
- Carbohydrates: 35g
- Fiber: 2g
- Protein: 8g
- Cholesterol: 120mg
Keywords: Dutch Oven French Toast, Comfort Food, Breakfast